Guide to Setting Up SMS Tokens for Two-Factor Authentication
Protectimus SMS tokens deliver one-time passwords (OTPs) to users via text messages. This method is simple and familiar for end users because OTPs are sent directly to a mobile phone number.
This guide explains how administrators can configure Protectimus so users can enroll their own Protectimus SMS tokens through the Protectimus Self-Service Portal.
Before you begin:
- Create a Resource in the Protectimus system.
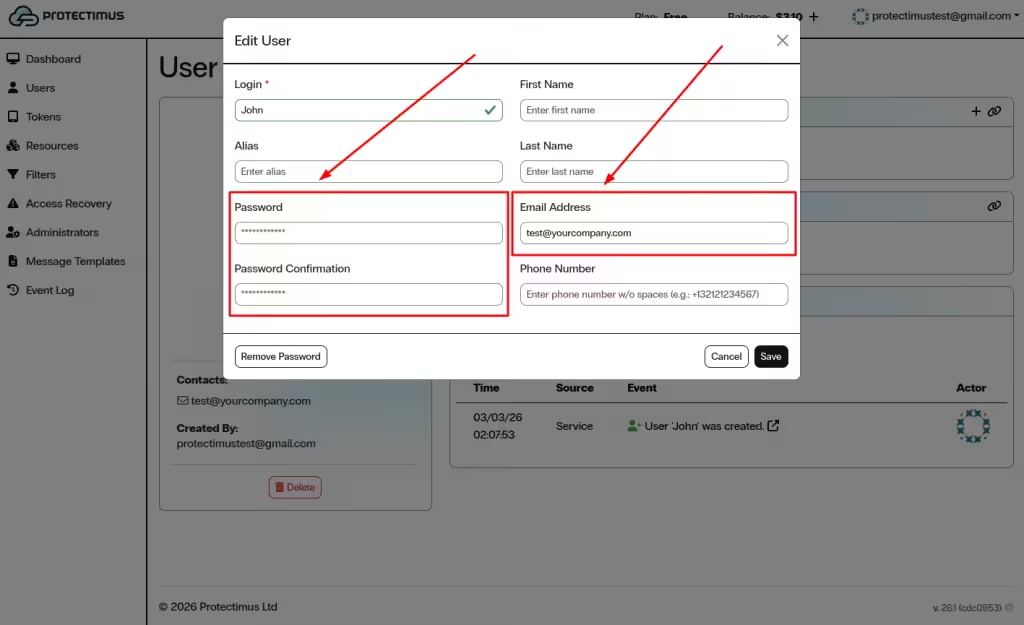
- Add users and make sure each user has either a password or a registered email address.
- Enable the Self-Service Portal for the Resource.
Detailed instructions are available in the following guides:
How to Enroll a Protectimus SMS Token via the Self-Service Portal
This step-by-step guide shows how administrators can configure Protectimus so users can enroll and activate their own Protectimus SMS tokens through the Protectimus Self-Service Portal.
- Log in to the Protectimus SaaS Service.
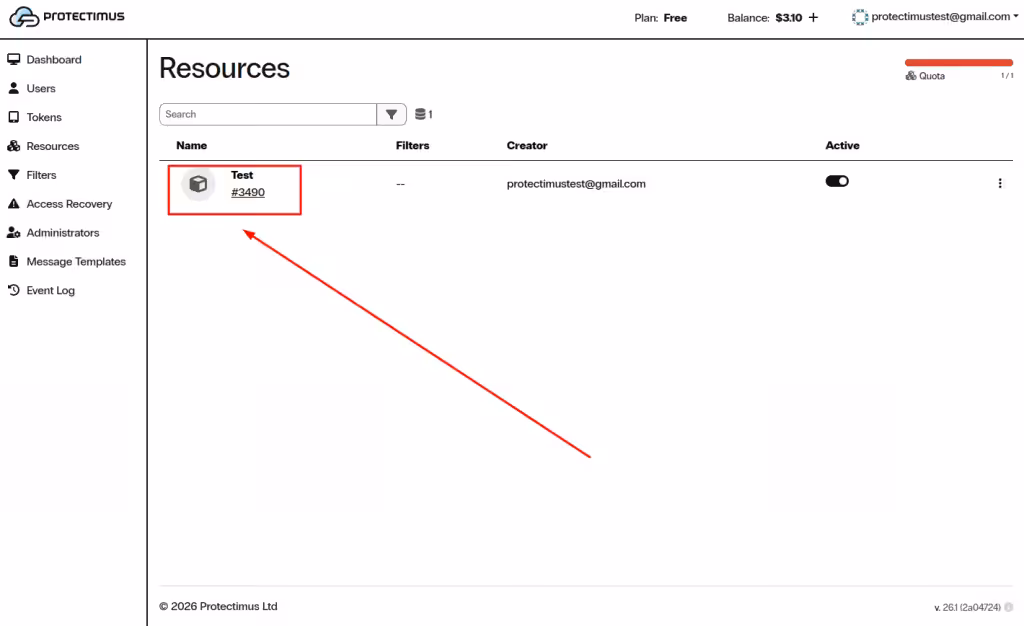
- Open the Resources page and select the required Resource.
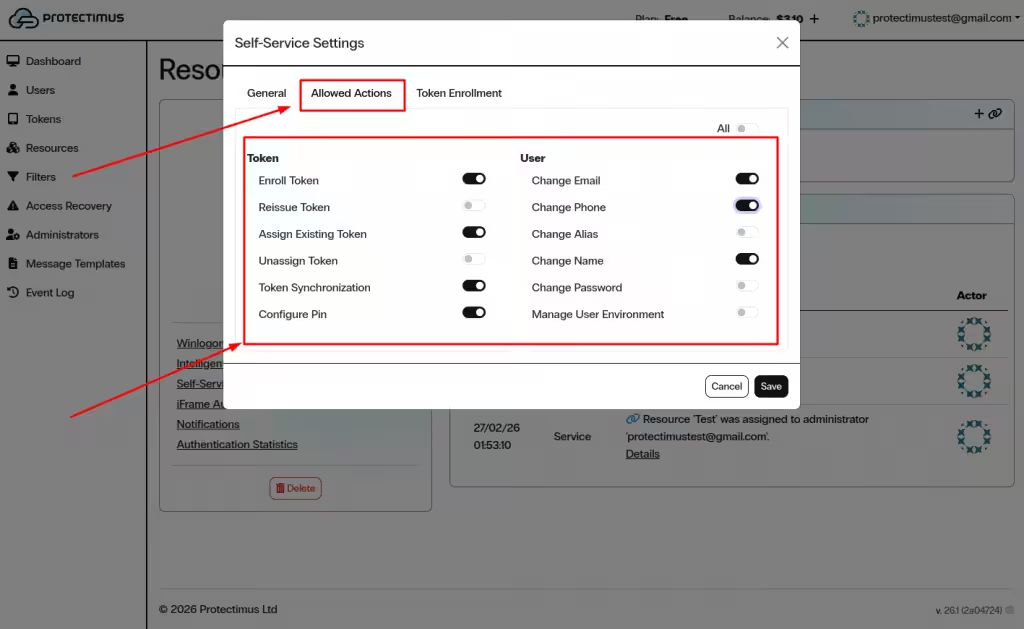
- Enable Enroll Token in the Allowed Actions section.
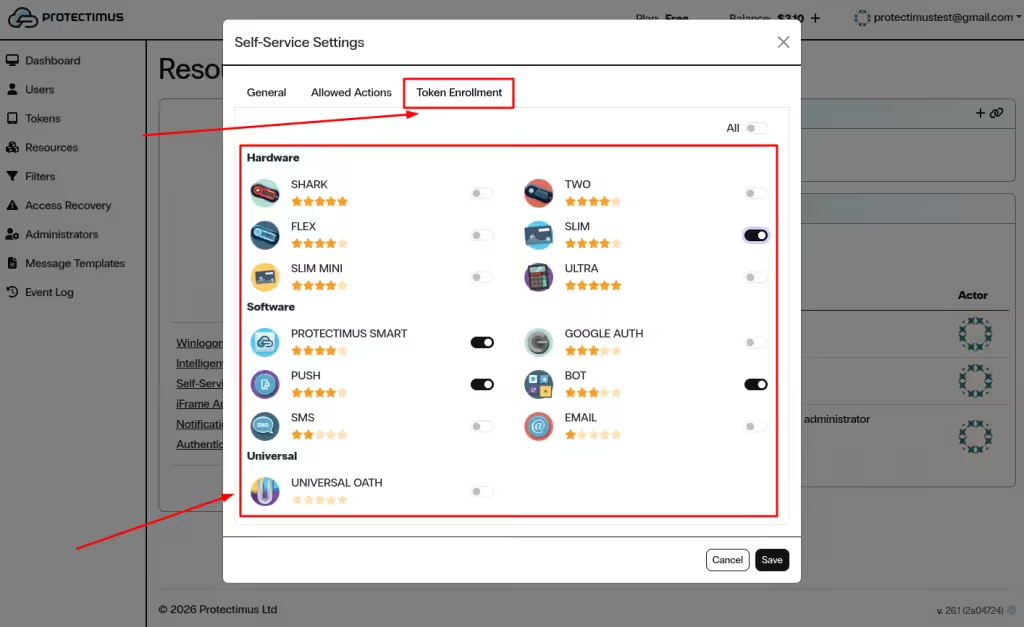
- Allow SMS token enrollment in the Token Enrollment tab.
- Provide users with the Self-Service Portal link.
- Users log in to the portal and click Assign New.
- Select SMS, enter the token details, and confirm activation.
- The SMS token will appear in the 2nd Factor section after activation.
1. Enable Protectimus SMS Token Enrollment in the Self-Service Portal
- Log in to your Protectimus SaaS Service account.
- Open the Resources page and select the required Resource.

- Open the Self-Service tab.

- In the Allowed Actions section, enable Enroll Token.
- Open the Token Enrollment tab.
- Enable SMS as an available token type.
- Click Save.
2. Provide Users with Access to the Self-Service Portal
To access the Self-Service Portal, users need:
- The Self-Service Page Address generated in the Resource settings.
- Their username and either a password or a registered email address.
Send the Self-Service Portal link to your users and ask them to enroll their tokens. Also inform users which username and password or email they should use to log in to the Protectimus Self-Service Portal.

3. How Users Enroll a Protectimus SMS Token in the Self-Service Portal
- Open the Self-Service Portal using the link provided by your administrator.
- Log in using your username and password or email verification.
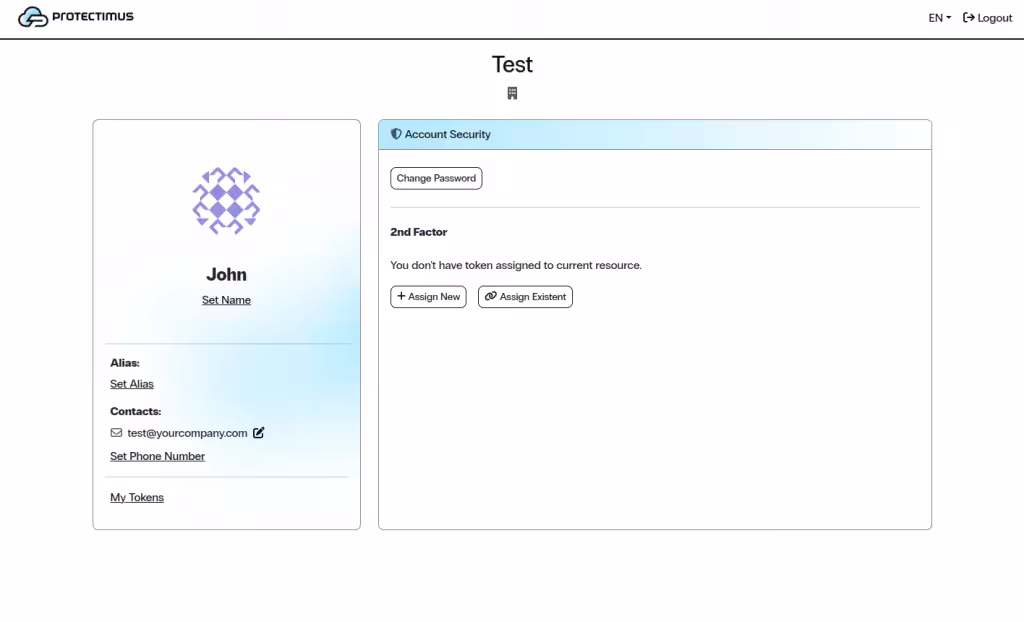
- In the 2nd Factor section, click Assign New.
- In the Add Token window, select SMS.
- Enter the Name of the token.
- Enter the Phone Number where one-time passwords will be delivered.
- Select the desired OTP Length, if this option is available.
- Click Save or Next, depending on your portal configuration.
- A one-time password will be sent to the specified phone number.
- Enter the received OTP to confirm activation.
- After successful activation, the SMS token will appear in the 2nd Factor section.
Related Guides
You may also find the following guides helpful:
If you have any questions, please get in touch with Protectimus customer support service.