Ukraine flag

We stand with our friends and colleagues in Ukraine. To support Ukraine in their time of need visit this page

> OpenVPN 2FA

OpenVPN 2FA

Enable OpenVPN two-factor authentication (2FA) using Protectimus multi-factor authentication system.

Multi-factor authentication (MFA) is an essential measure of cyber security. MFA protects users’ accounts, infrastructure, and confidential data from unauthorized access. OpenVPN 2FA saves the users’ accounts from hacking with brute force, keyloggers, data spoofing, phishing, MITM, social engineering attacks, etc.

1. How OpenVPN Two-Factor Authentication (2FA) Works

Two-factor authentication means using two different types of authenticators to get access to the OpenVPN account protected with 2FA.

  1. At first, the user enters a standard password and username (something the user knows);
  2. Then they enter a one-time password received with the help of a 2FA token or a smartphone (something the user owns).

Thus, when OpenVPN 2FA is enabled, it becomes too hard to hack both 2-factor authentication passwords at the same time, especially if you consider that a one-time password is valid only for 30 seconds.

This guide shows how you can set up OpenVPN 2FA via the RADIUS authentication protocol using the Protectimus Cloud Two-Factor Authentication Service or Protectimus On-Premise 2FA Platform.

OpenVPN 2FA (two-factor authentication) setup scheme

2. How to Enable OpenVPN 2FA

You can set up OpenVPN two-factor authentication (2FA) with Protectimus using the RADIUS protocol:
  1. Get registered with Protectimus SAAS Service or install the On-Premise 2FA Platform and configure basic settings.
  2. Install and configure Protectimus RADIUS Server.
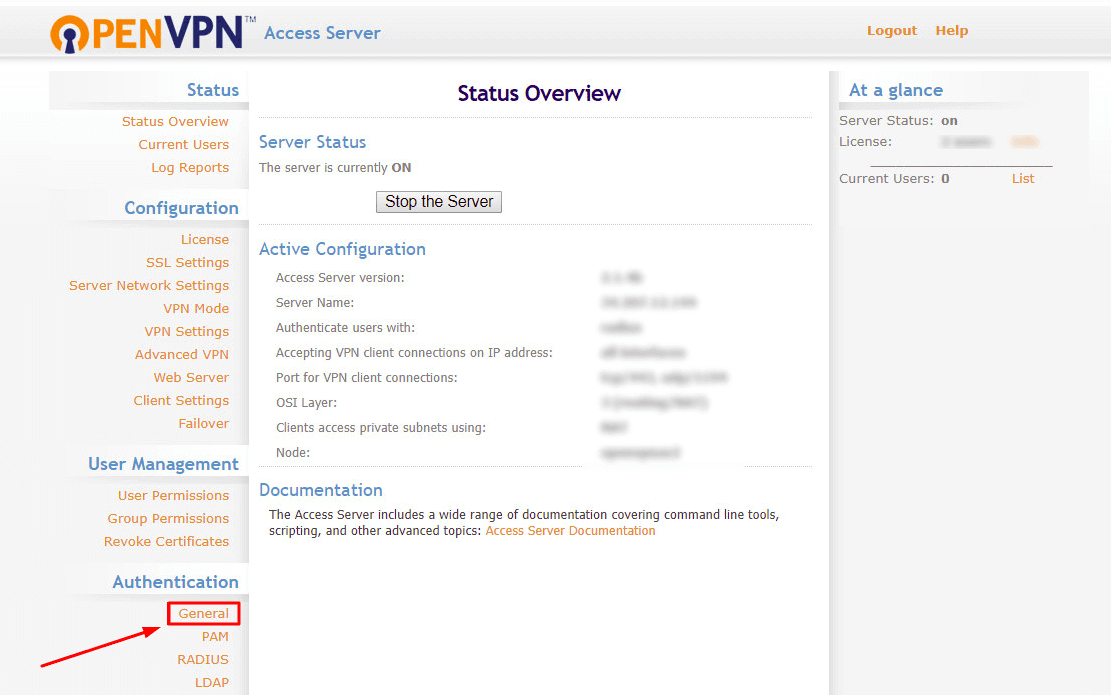
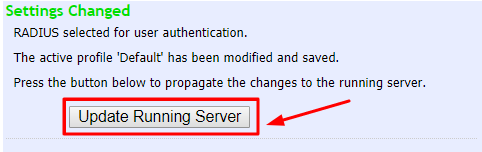
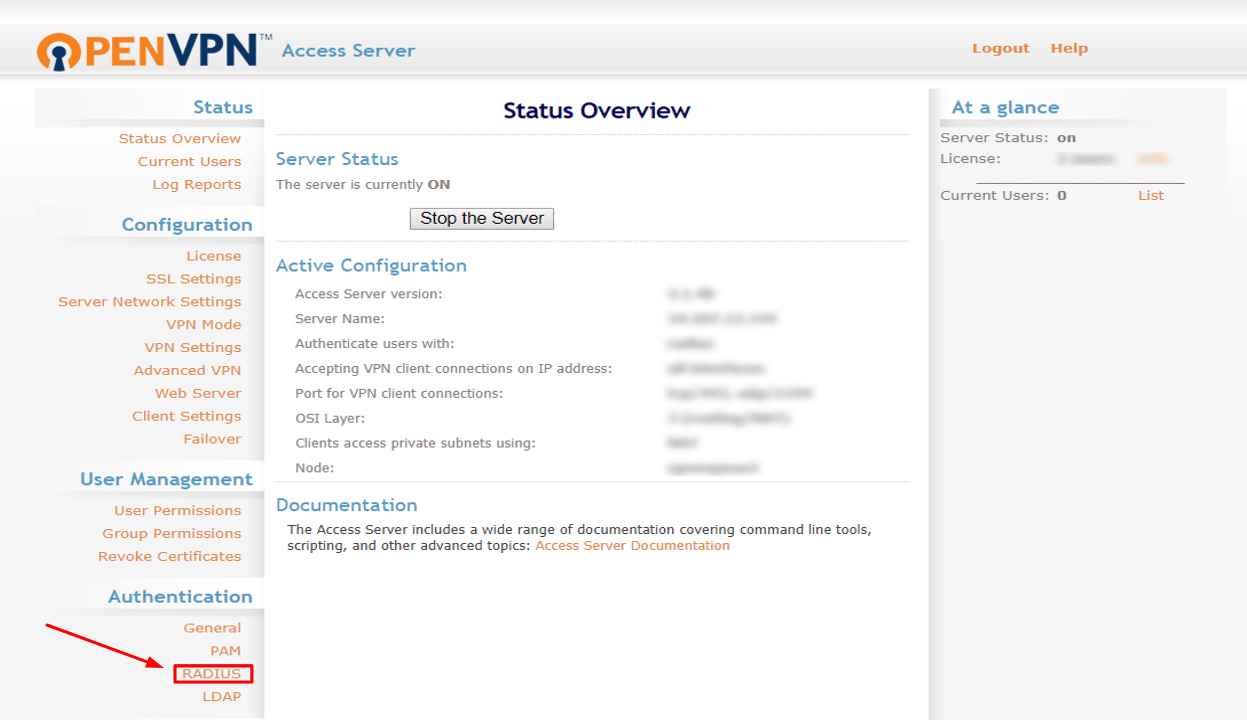
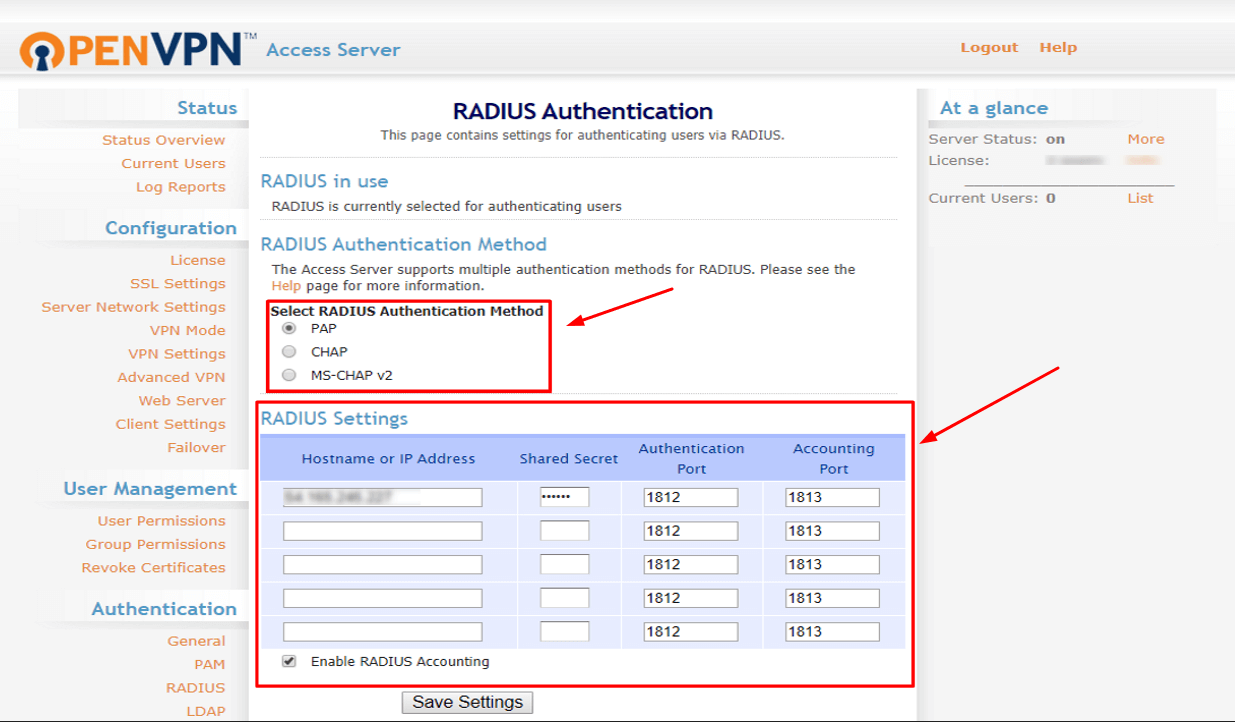
  3. Configure OpenVPN Server authentication policies.

2.1. Get Registered and Configure Basic Protectimus Settings

  1. Register with the Protectimus Cloud Service and activate API or install the Protectimus On-Premise Platform (if you install Protectimus Platform on Windows, check the RProxy box during the installation).
  2. Add Resource.
  3. Add Users.
  4. Add Tokens or activate Users’ Self Service Portal.
  5. Assign Tokens to Users.
  6. Assign Tokens with Users to the Resource.

2.2. Install and Configure Protectimus RADIUS Server

Detailed instructions for installing and configuring the Protectimus RADIUS Server for OpenVPN 2-factor authentication using RADIUS are available here.

2.3. Configure OpenVPN Server Authentication Policies

1. Go to the OpenVPN Access Server administration panel, find the Authentication settings section and choose General.
OpenVPN 2FA setup - Configure OpenVPN Server authentication policies - step 1 2. To enable OpenVPN two-factor authentication (2FA), activate authentication using RADIUS and Save settings.
OpenVPN two-factor authentication setup - Configure OpenVPN Server authentication policies - step 2

3. You will see the pop-up, click Update Running Server, and continue.
OpenVPN 2-factor authentication (2FA) setup - Configure OpenVPN Server authentication policies - step 3

4. Return to the Authentication settings section and choose RADIUS.
OpenVPN multi-factor authentication (MFA) setup - Configure OpenVPN Server authentication policies - step 4

5. In the RADIUS Authentication Method section, choose the PAP option. Then configure the following RADIUS settings:
Hostname or IP Address Indicate the IP of the server where the Protectimus RADIUS Server is installed
Shared Secret Indicate the shared secret you created in the Protectimus radius.yml file (radius.secret property).
OpenVPN 2FA setup - Configure OpenVPN Server authentication policies - step 5

6. You’ve finished setting up OpenVPN Server authentication policies, Save Settings, and then click on the Update Running Server button on the pop-up.

Integration is now complete. If you have other questions, contact Protectimus customer support service.
Last updated on 2022-09-15