The Protectimus On-Premise Two-Factor Authentication Platform can be installed on your private servers or in your private cloud.
- Private server installation requirements: Java (JDK version 8); PostgreSQL DBMS, version 10 or later.
- Private cloud installation requirements: CPU: 2 cores, memory: 8 GB; OS: Linux; cloud disk: 20 GB; load balancer.
To ensure uninterrupted operation of your multi-factor authentication server, deploy it to a cluster of several servers (we recommend using at least three nodes). Use a load balancer to distribute the load among them.
To install the Protectimus On-Premise Platform, you can use the installer for Windows or create a Docker Image.
For additional guidance, check these important resources:
docker-compose up -ddocker-compose logs -fDownload and run the Protectimus Platform installer using the button below.
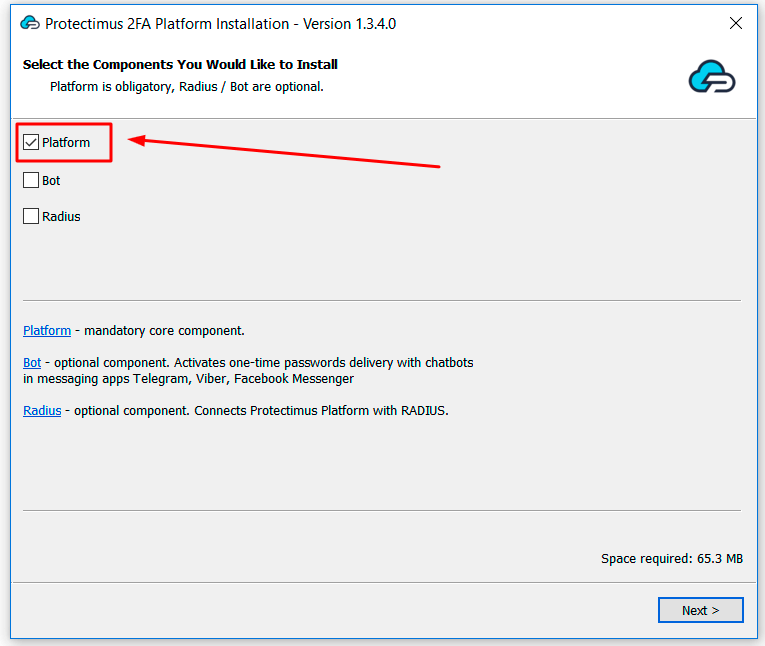
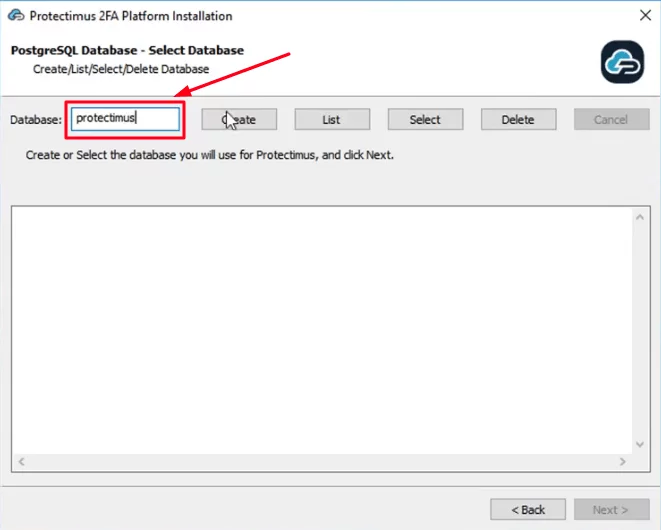
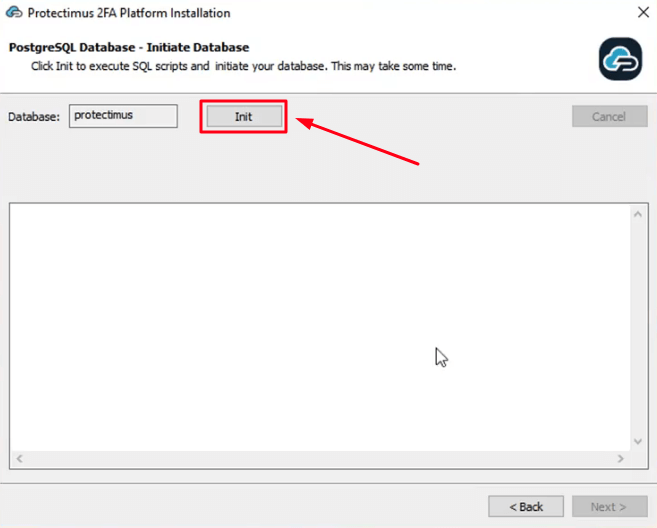
Check the Platform box and click Next.
If you are going to use RADIUS integrations, and/or OTP delivery via chat-bots in messaging apps Telegram, Facebook Messenger, or Viber, also check the appropriate boxes.
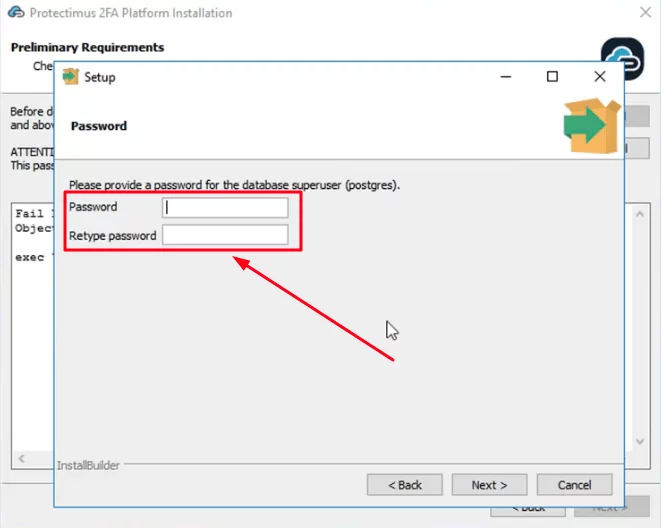
ATTENTION: You will need to set a superuser name and password during installation. You’ll need this password to login to PostgreSQL later.
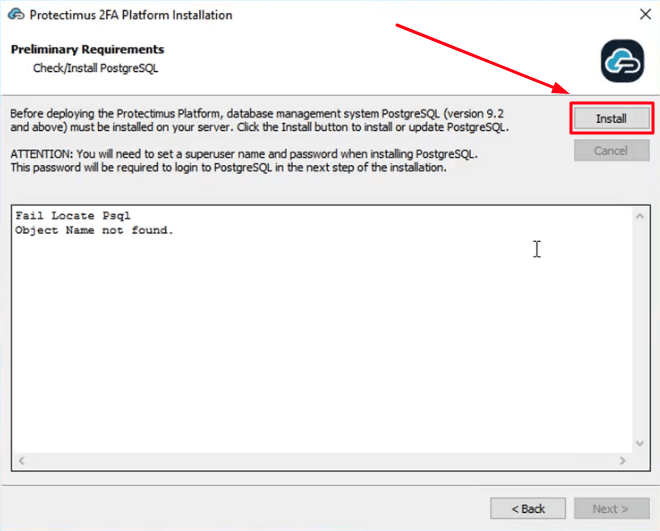
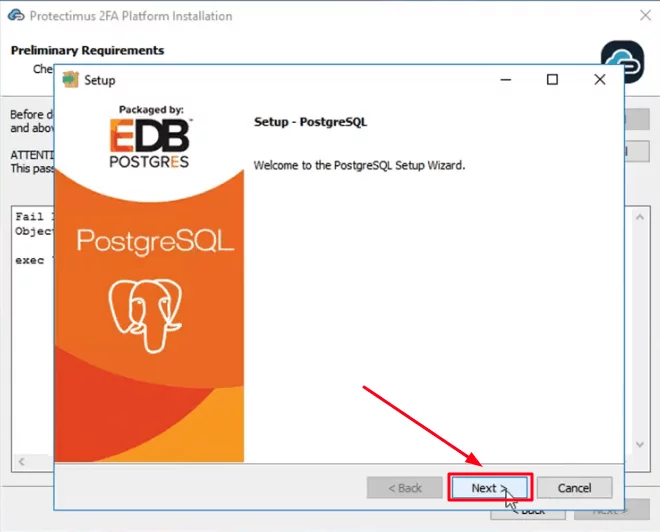
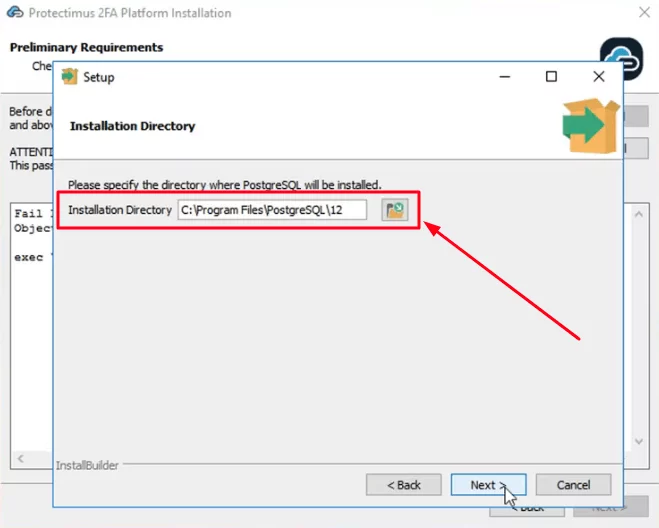
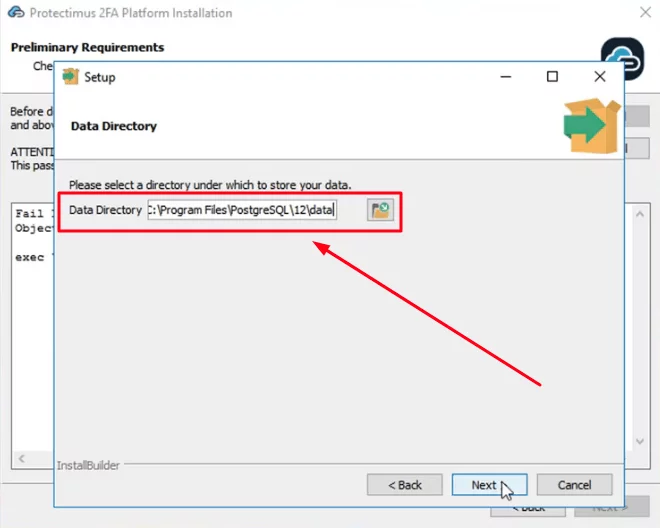
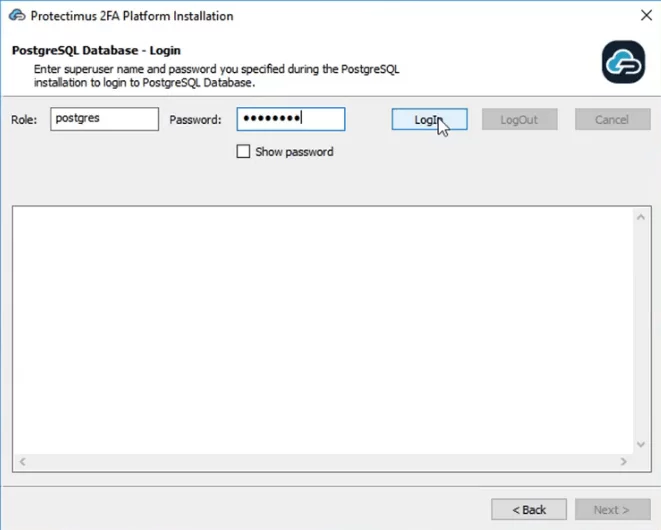
Please, remember your superuser name (postgres) and the password you’ll add on this step. This name and password will be required to login to PostgreSQL later.
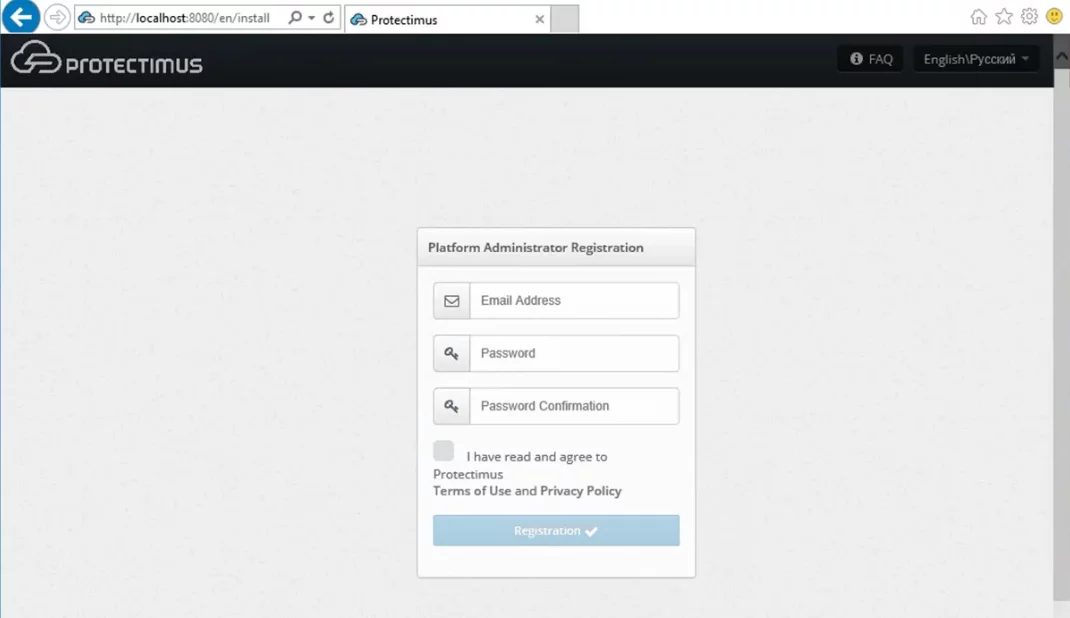
The server will be started on port 8080 or 8443, and the platform will be available from the address http://localhost:8080 or https://localhost:8443.
It will be opened automatically after the installation. After launching the platform, you’ll need to register in the system.
The installer will automatically open the registration form at http://localhost:8080 or https://localhost:8443.
Please, create an account and log in to configure the necessary settings.
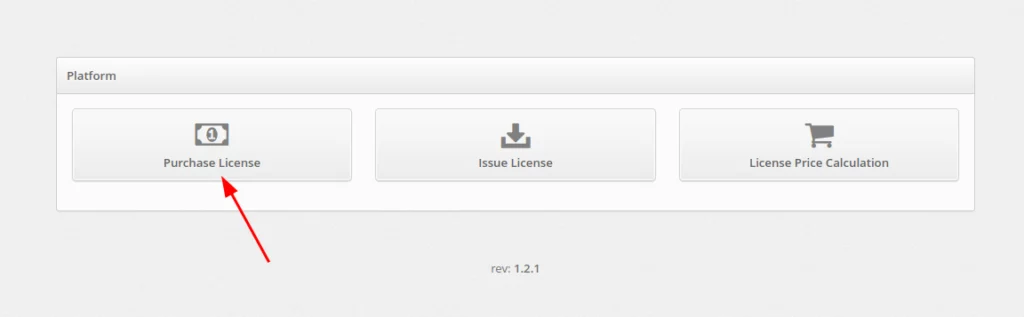
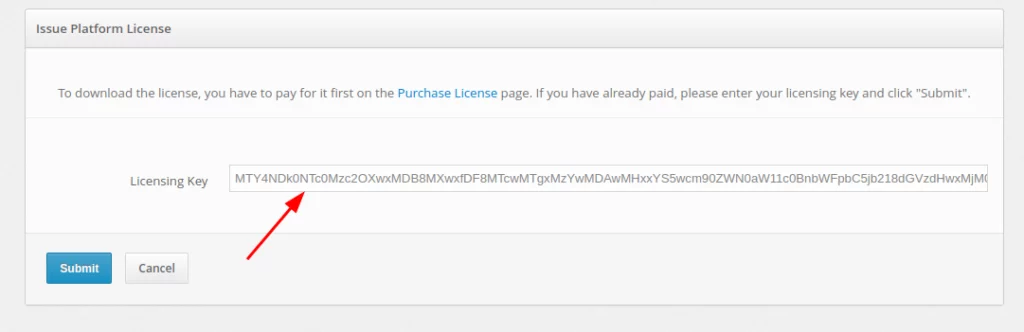
After testing the Protectimus Platform successfully, you’ll need to get a license. To do so, go to http://platform_path/licensing, select the option you require and get the license key.
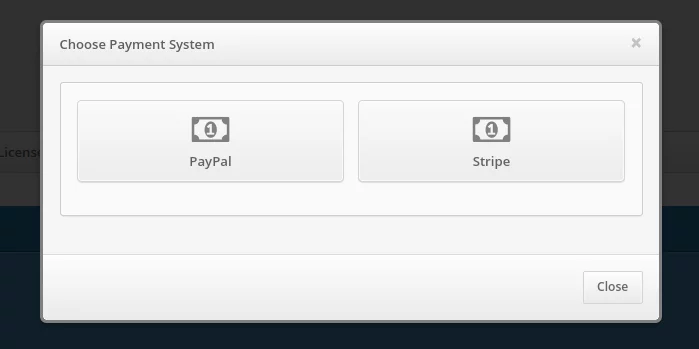
Using the key you received, you can pay for and download your license online. To do so:
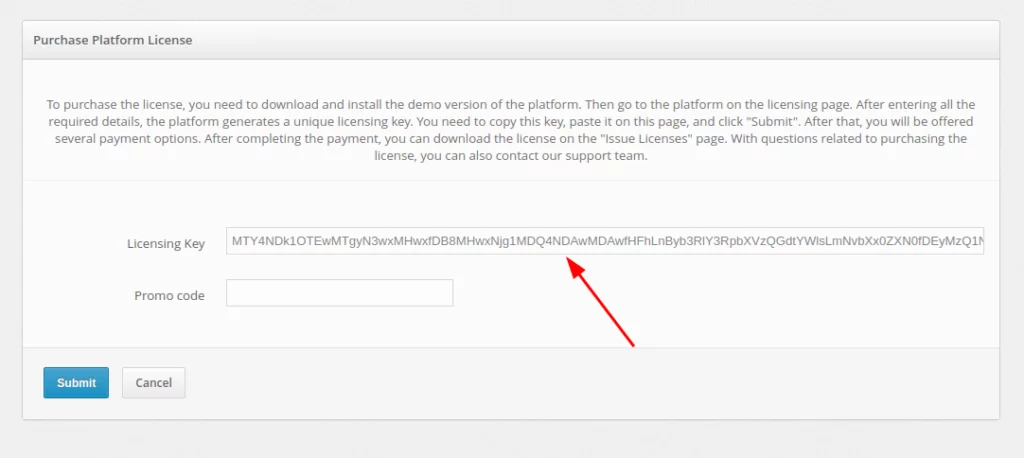
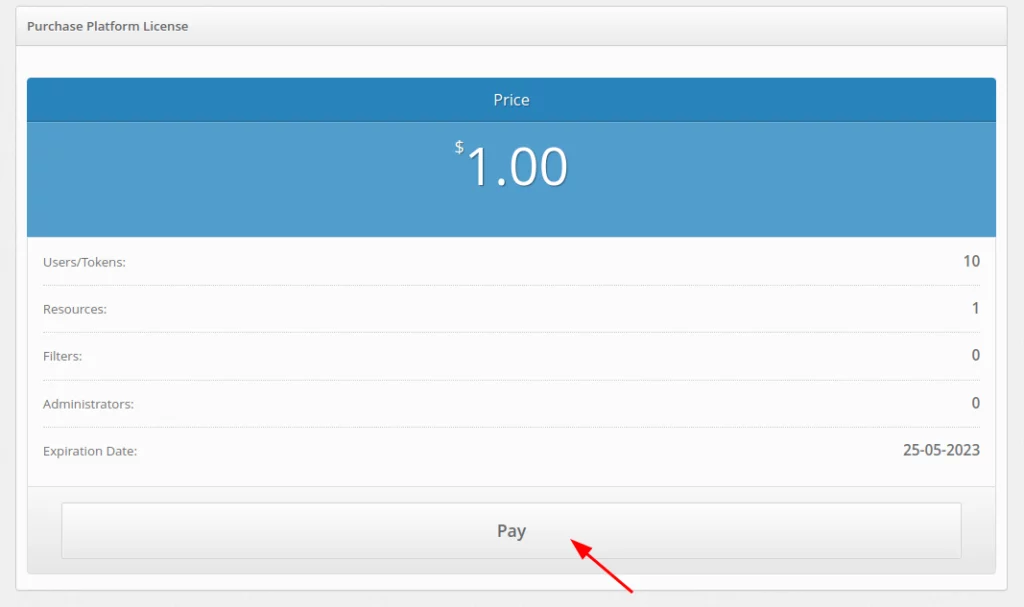
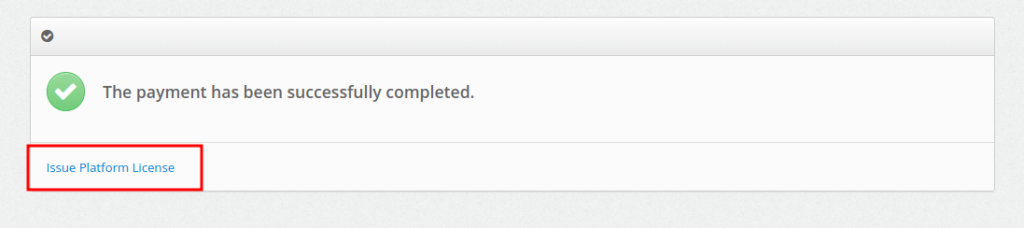
After successful payment click on the Issue Platform License button.
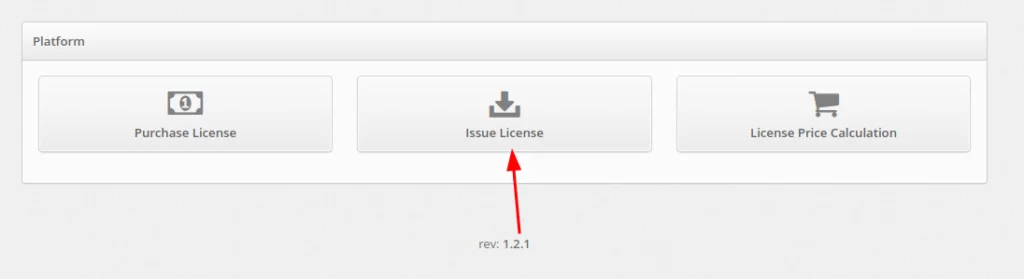
You can also do this on the page https://service.protectimus.com/en/platform by clicking the Issue License button.
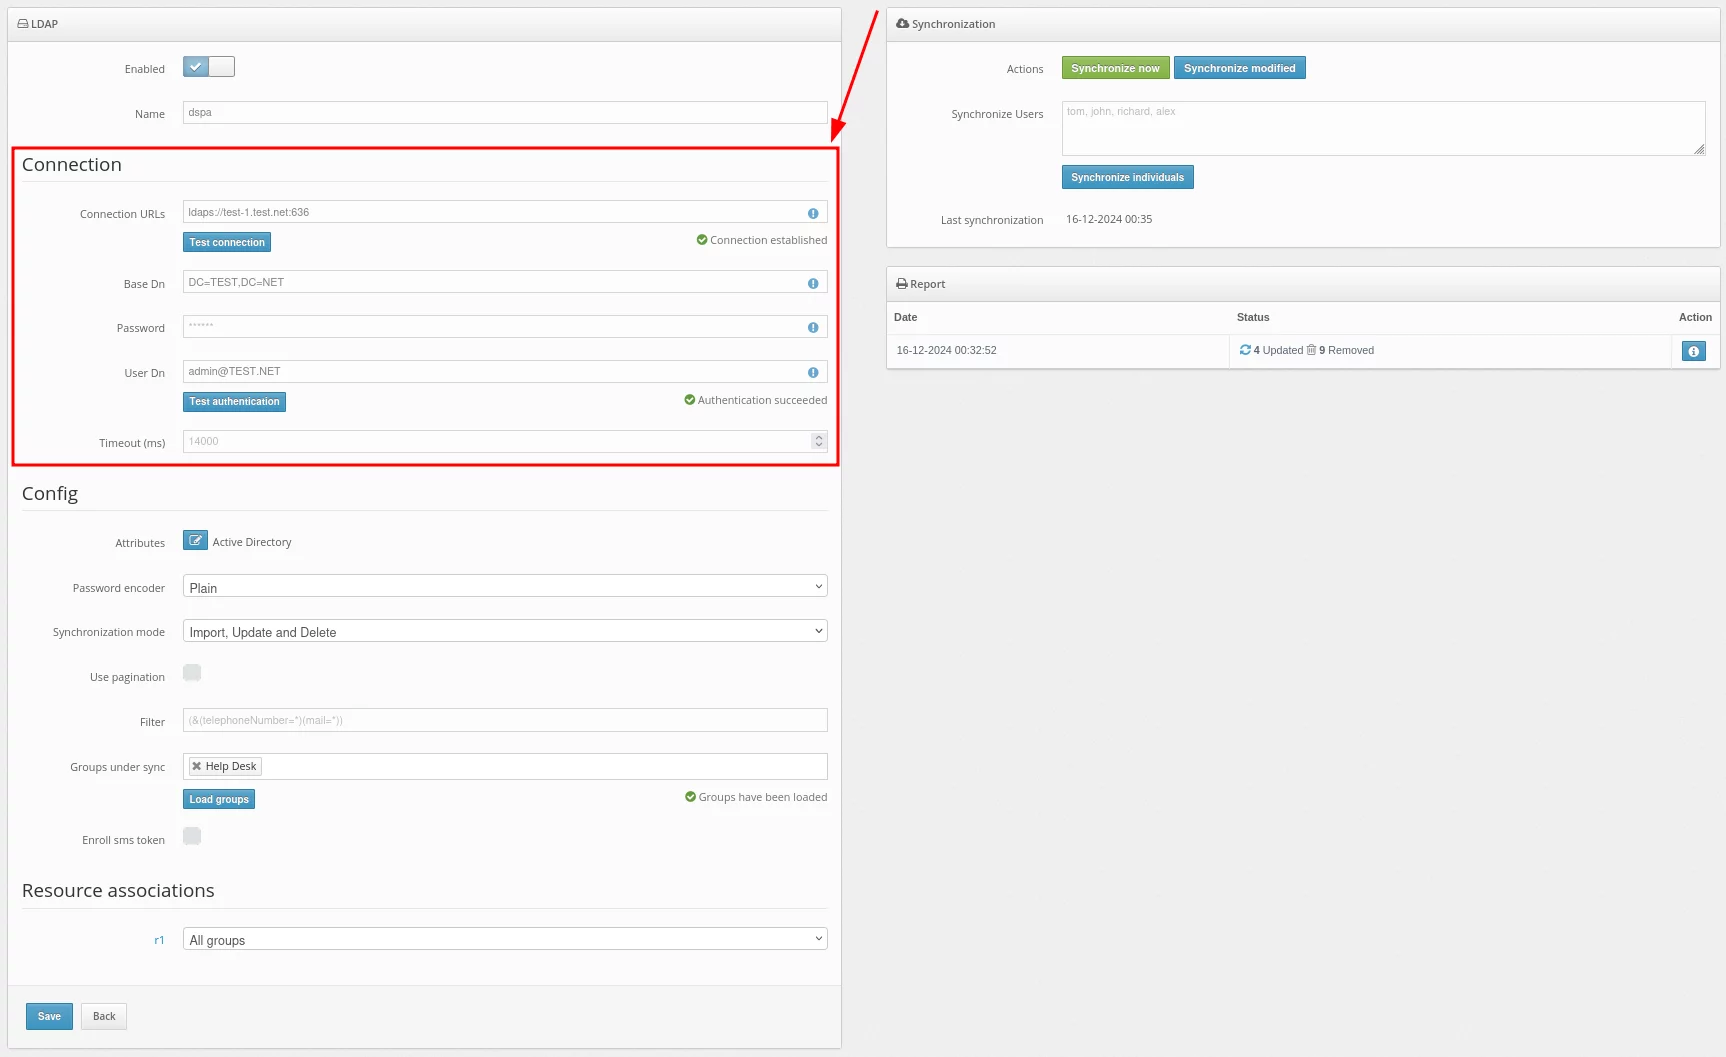
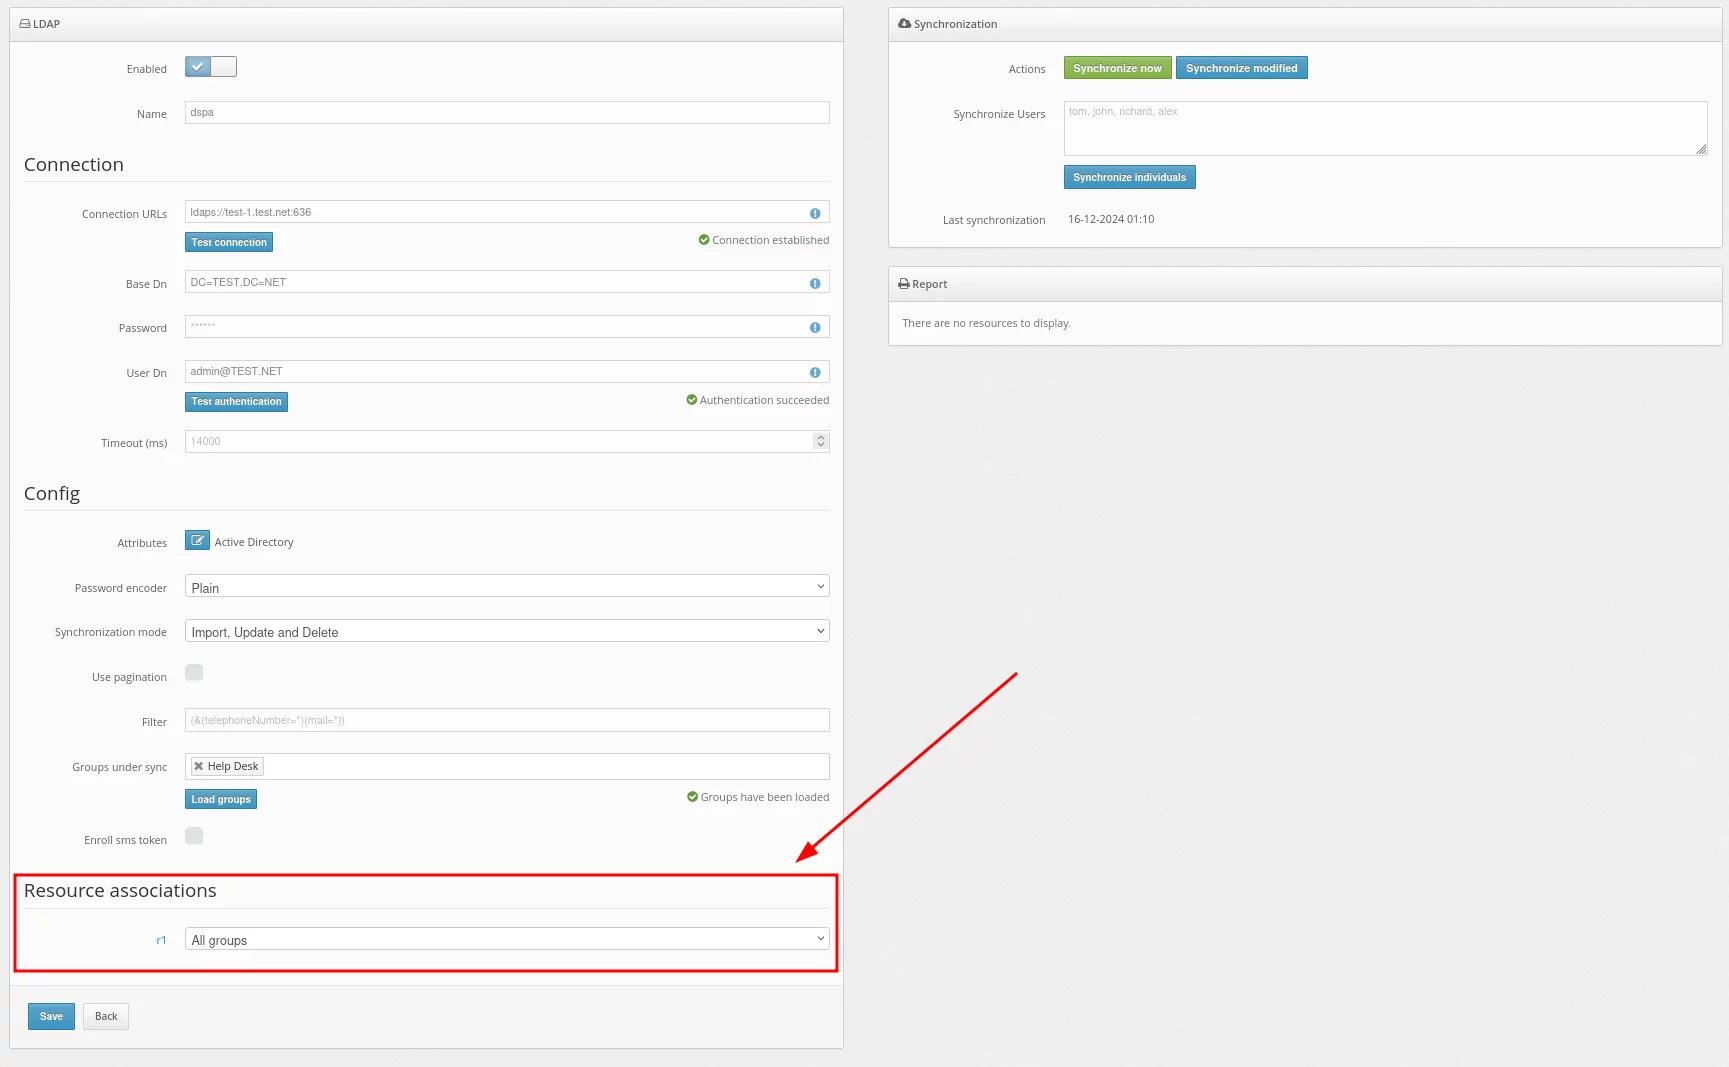
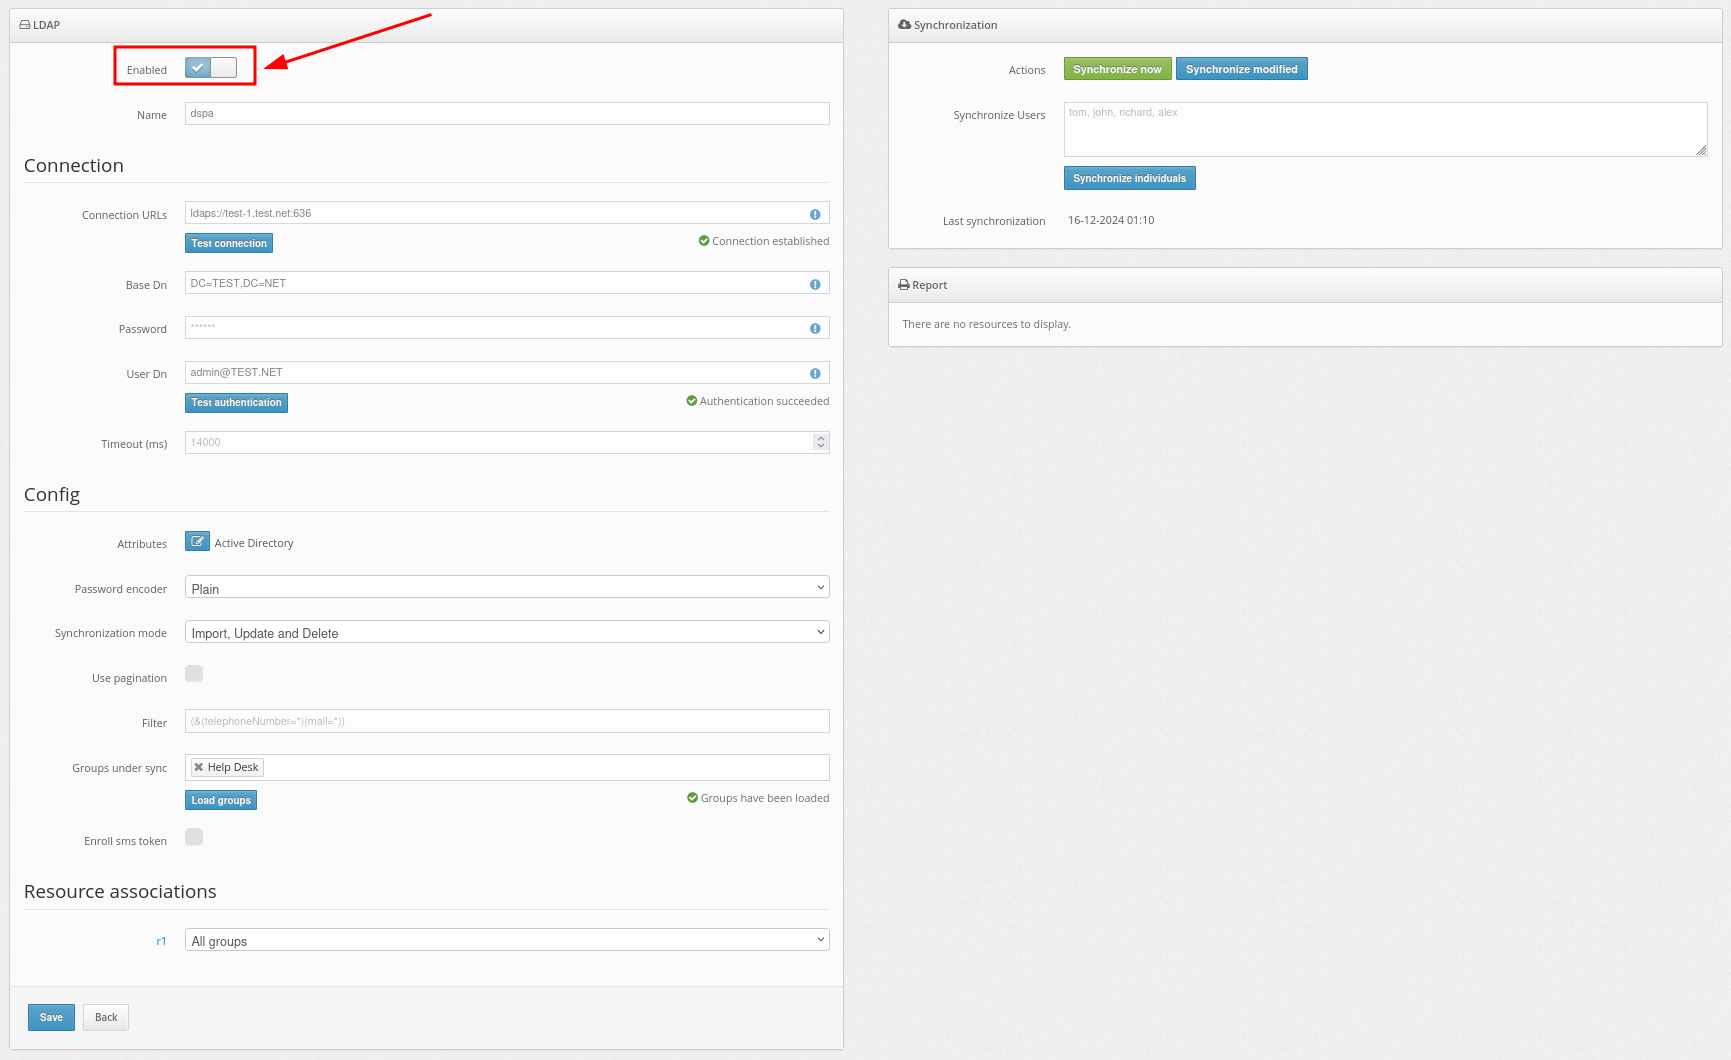
Basic settings:
| Field | Value | Note |
| Connection URLs | URL to connect to your LDAP server | Example: ldaps://dc1.domain.local:636
For DSPA, you need to use the LDAP connection, and you also need to import the SSL certificate.A standard way: |
| Base DN | Full DN of the directory in which your users are stored | Example:
|
| Password | The password of the specified user | |
| User DN | DN or userPrincipalName of the administrator or user who has access to user information | Example:
For DSPA, the user must have rights to change passwords |
| Timeout (ms) | Connection timeout |
After filling in details about your user directory, add synchronization attributes.Click on the Attributes button.
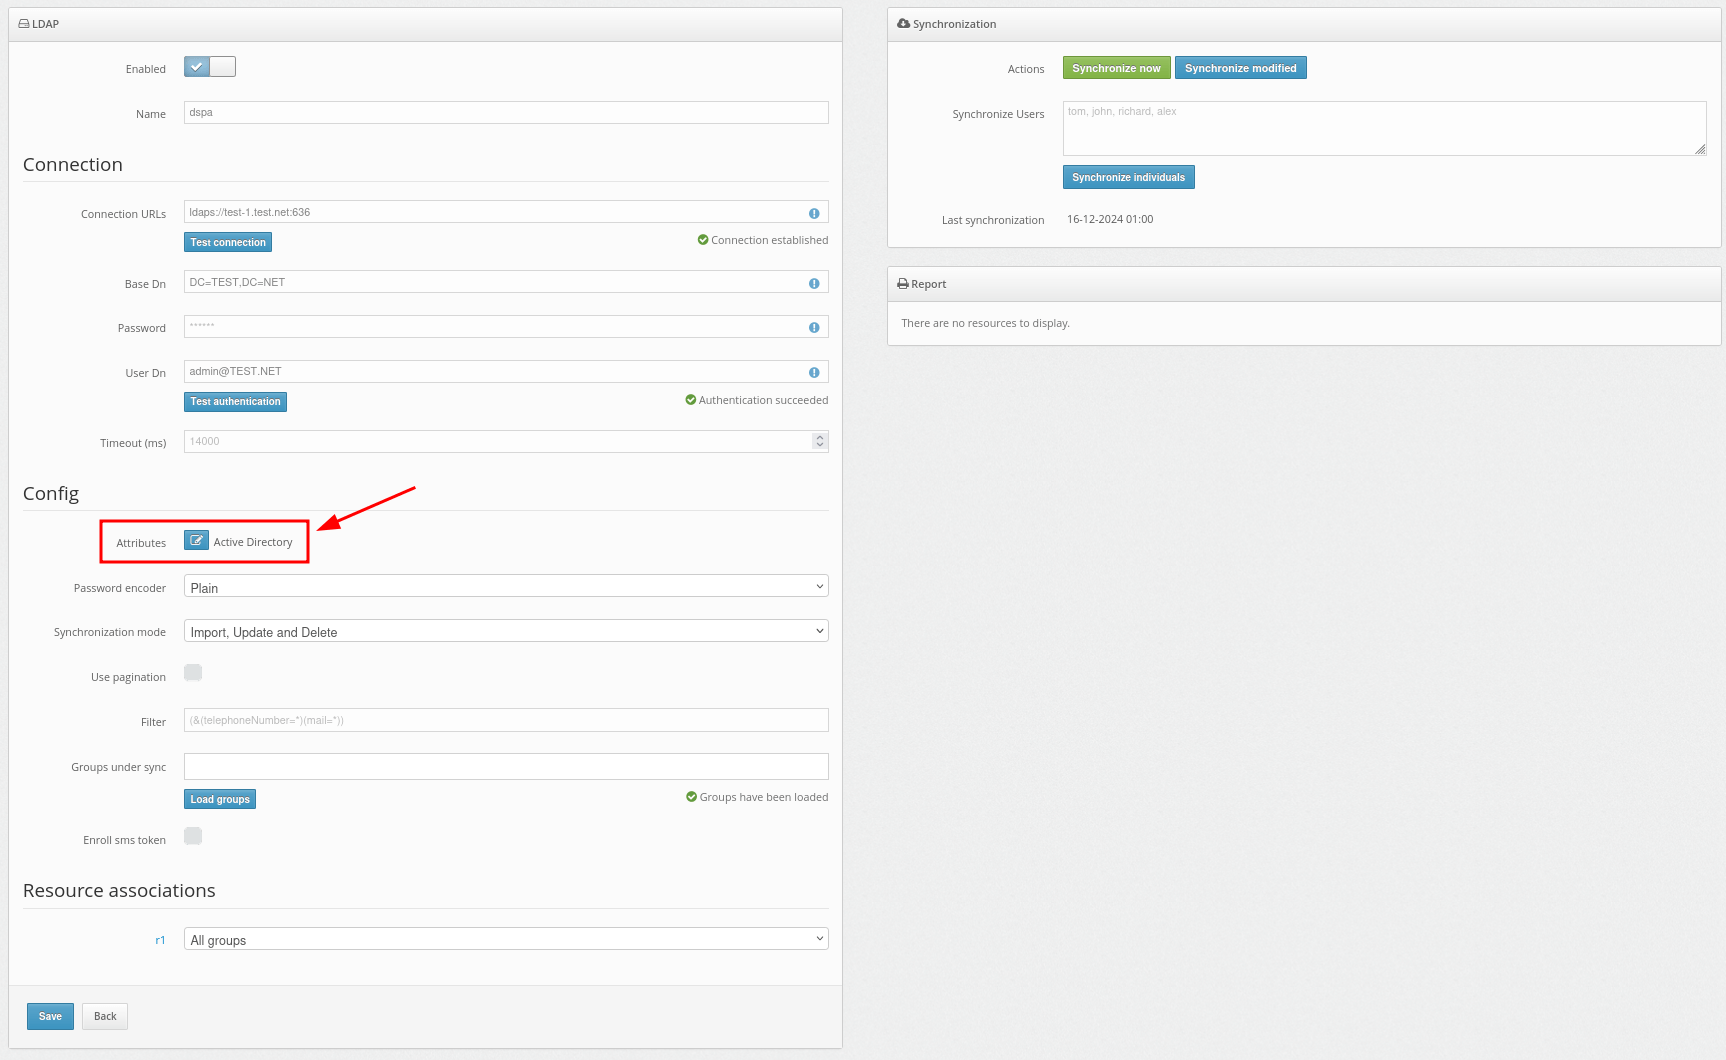
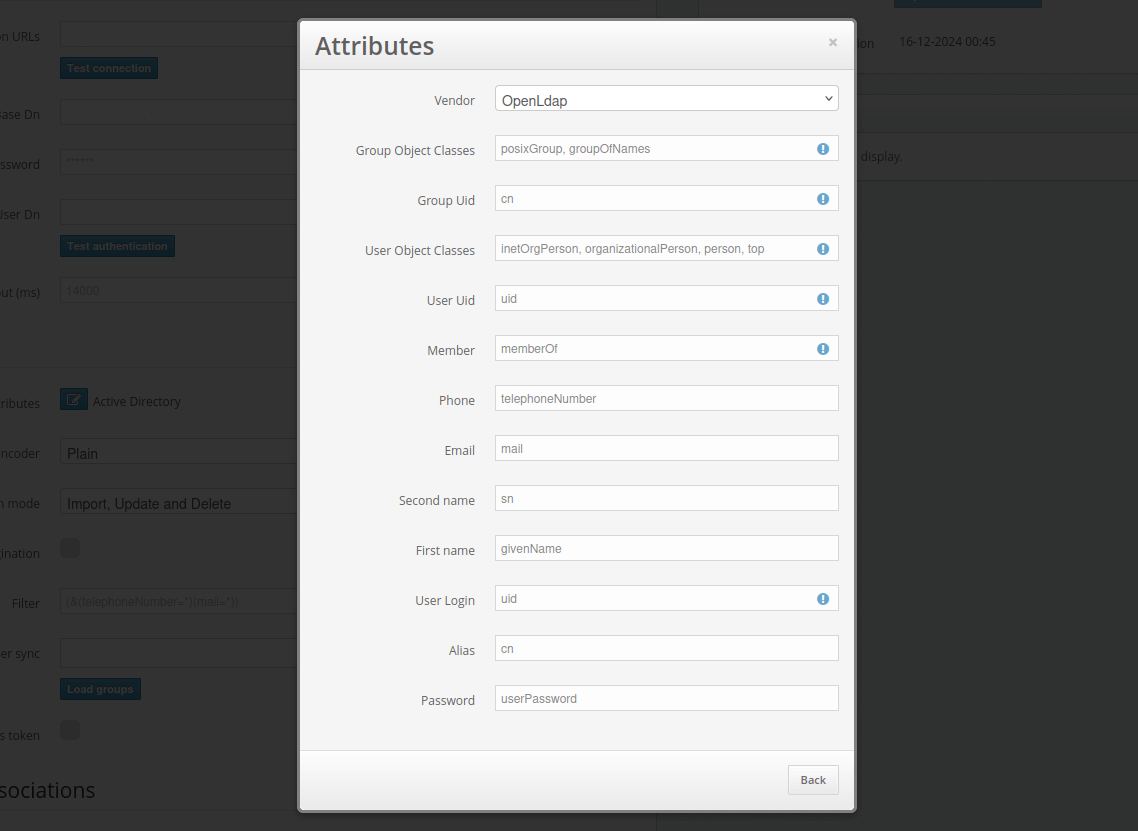
Then add your attributes as shown in the example.
Additionally, the OpenLDAP configuration is available from the provided vendors. You can select it in the Vendor field.
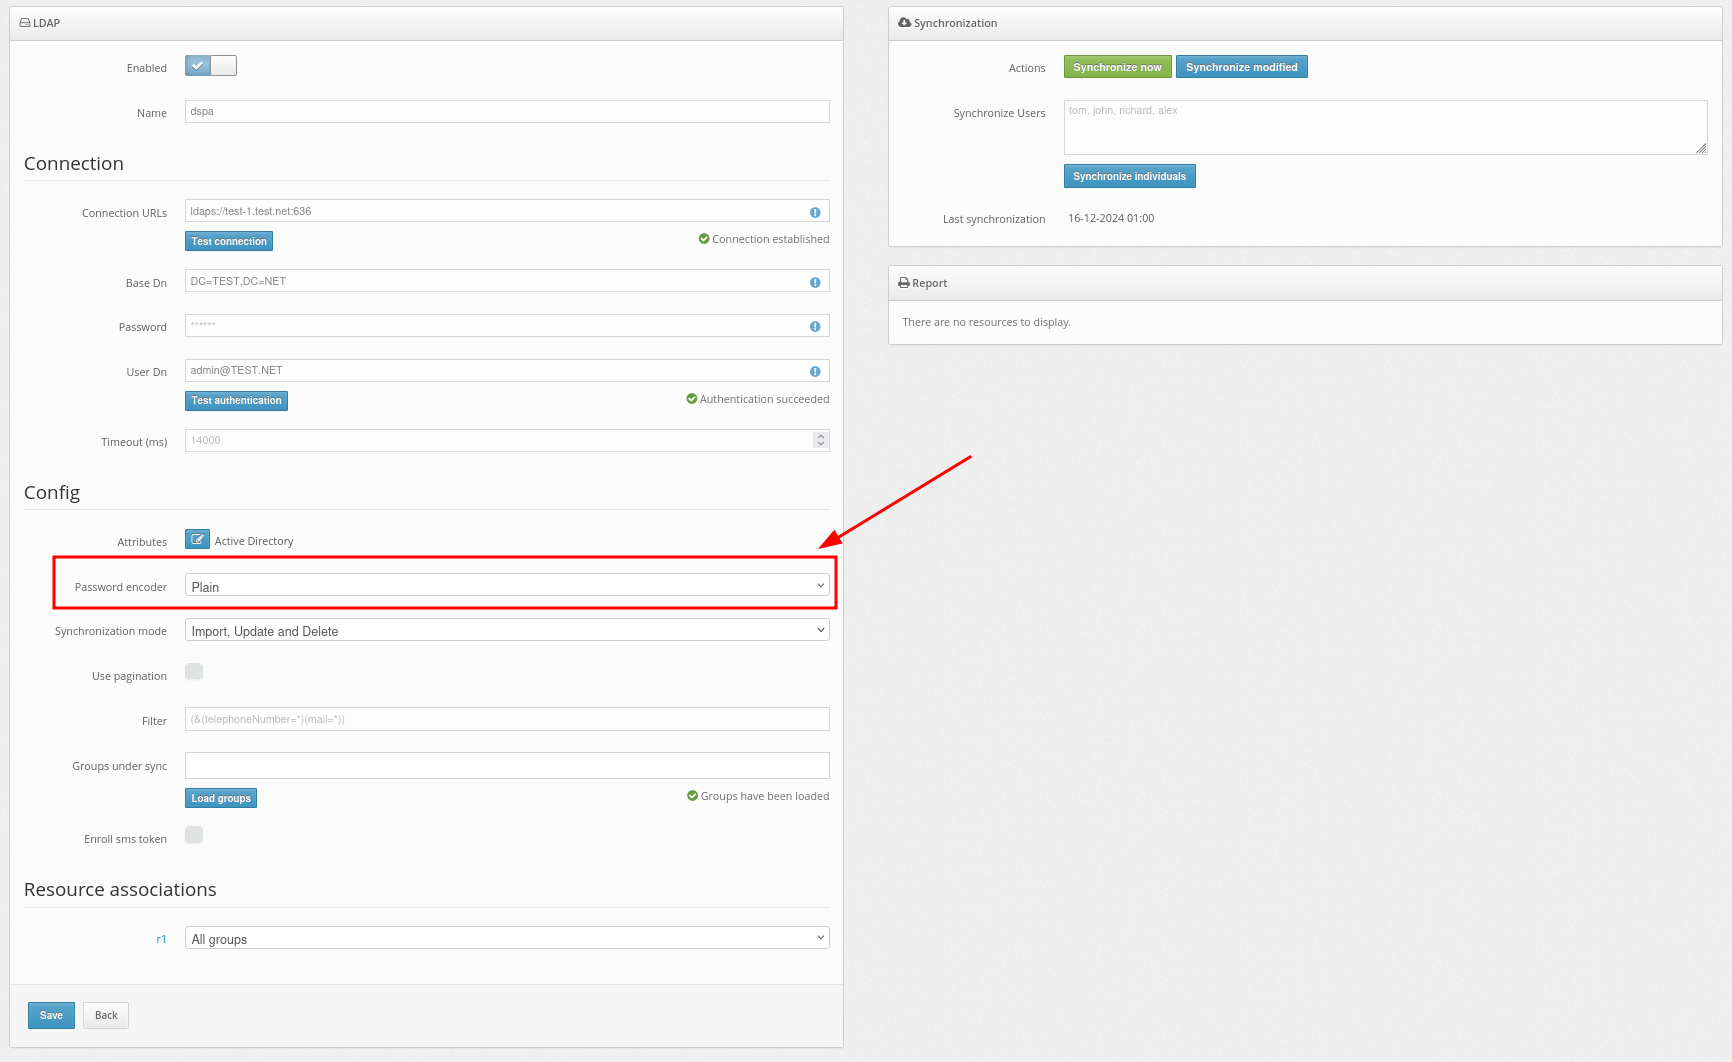
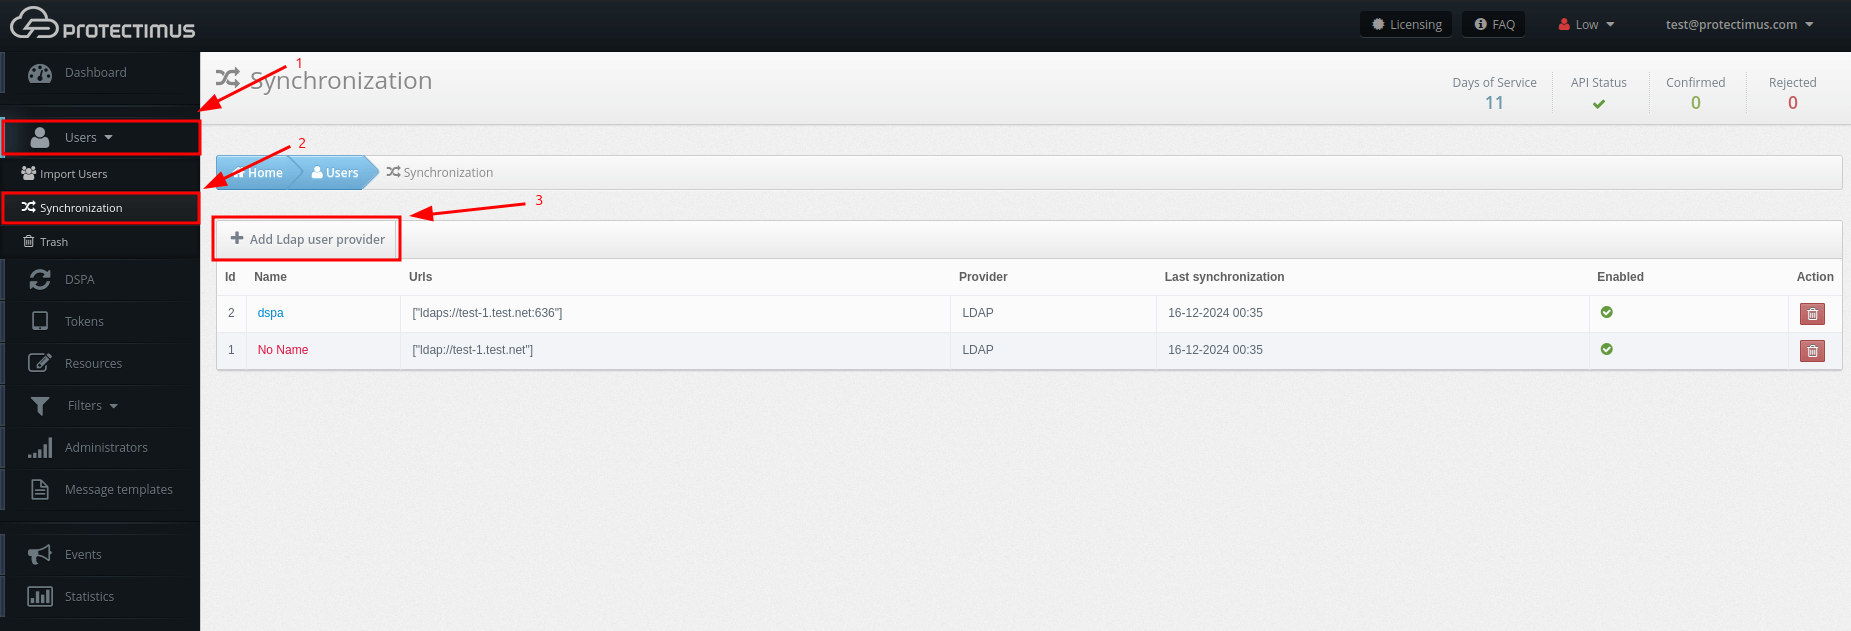
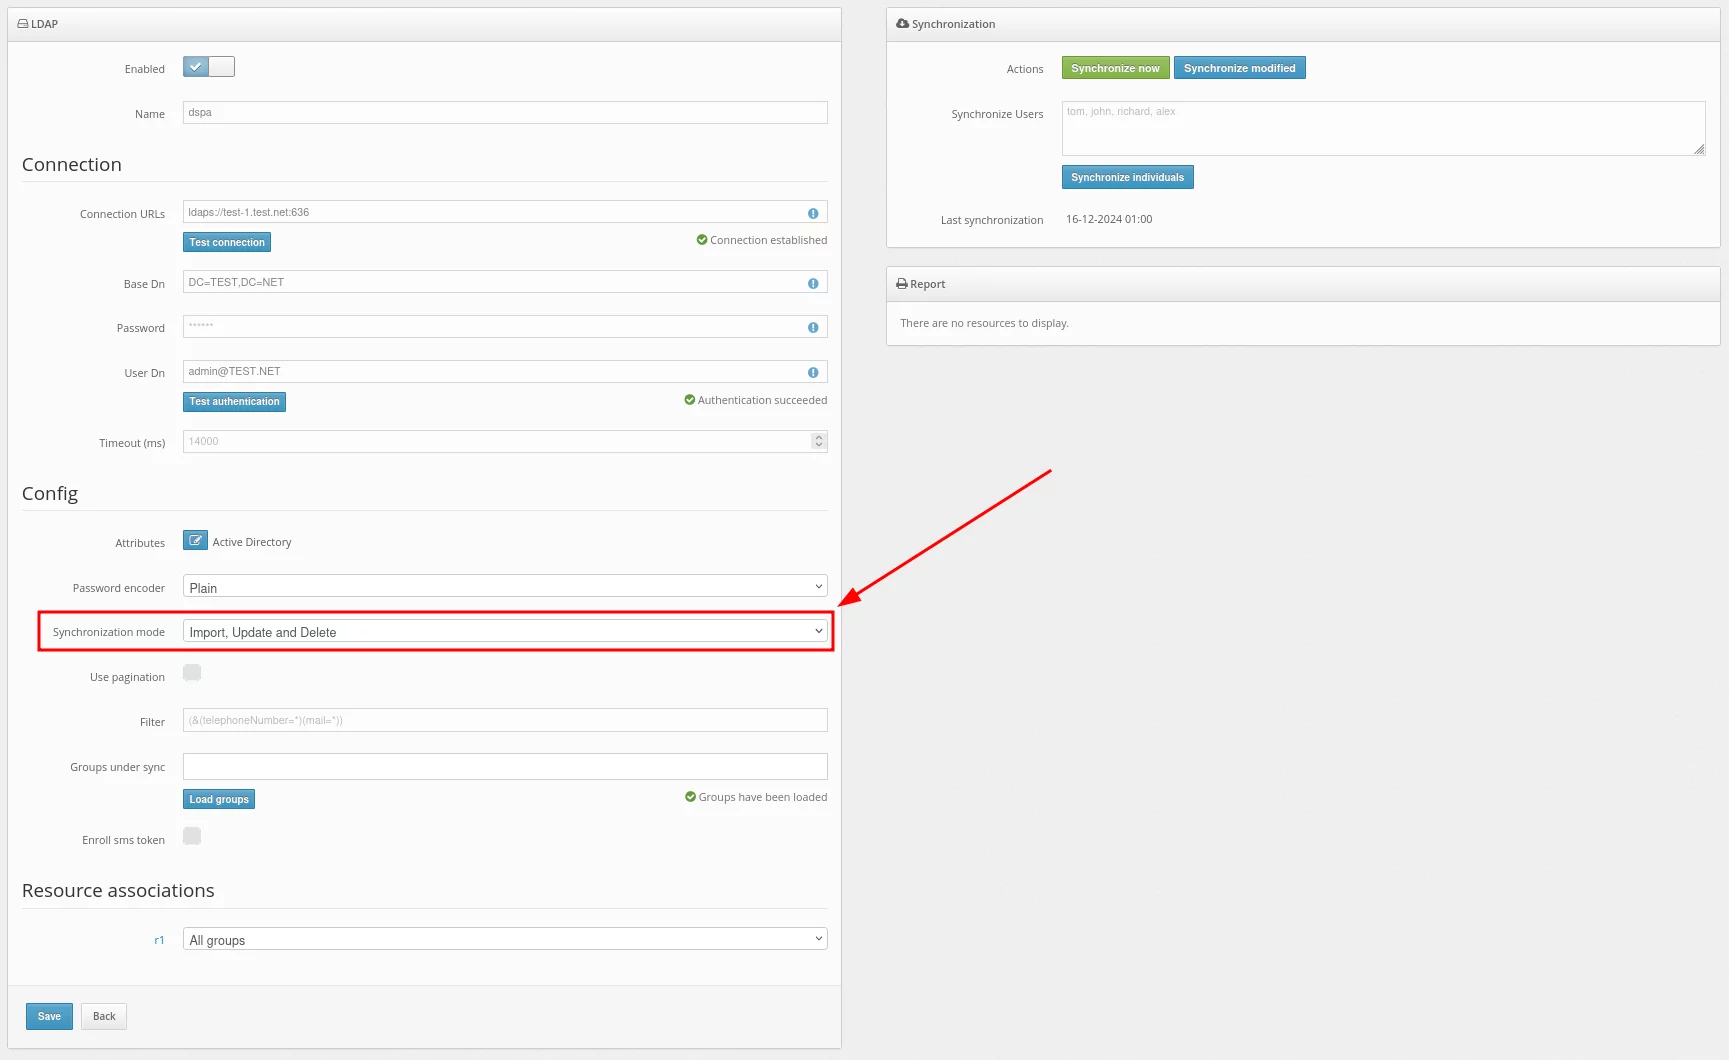
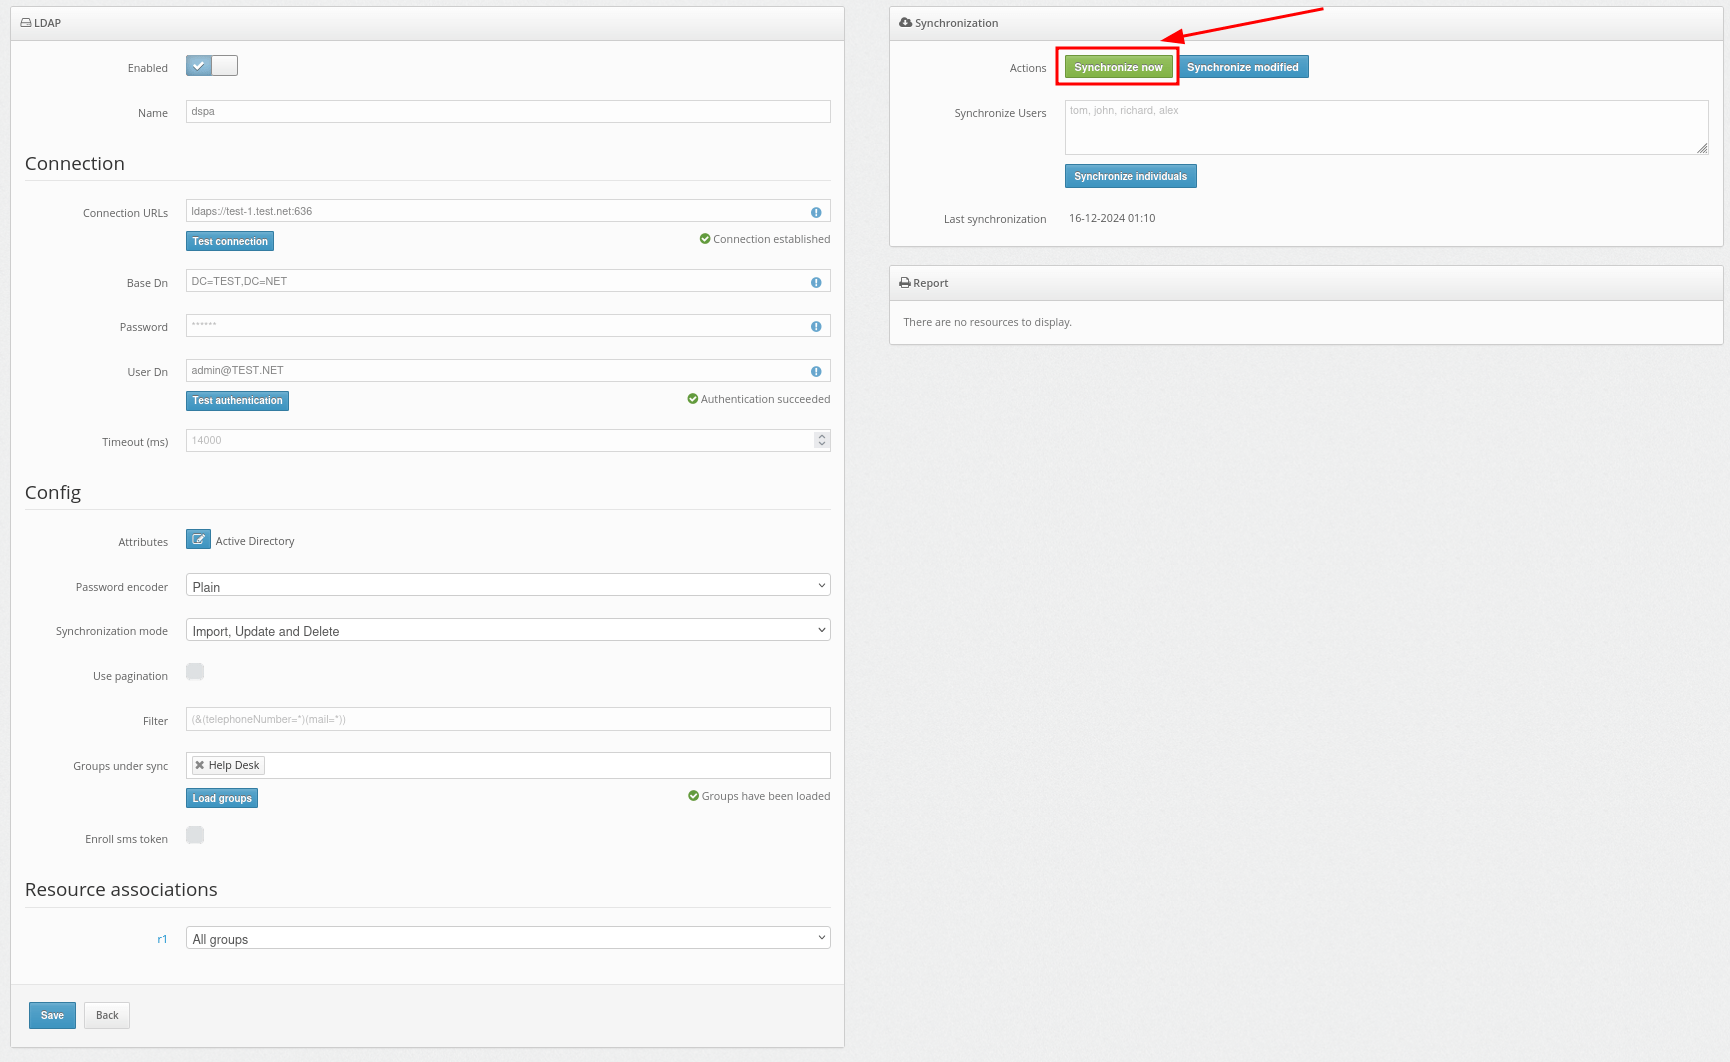
After successfully adding the user provider, you need to import the users into the Protectimus system and synchronize them with your user directory.In the Synchronization mode field, you should choose how you would like to import your users.
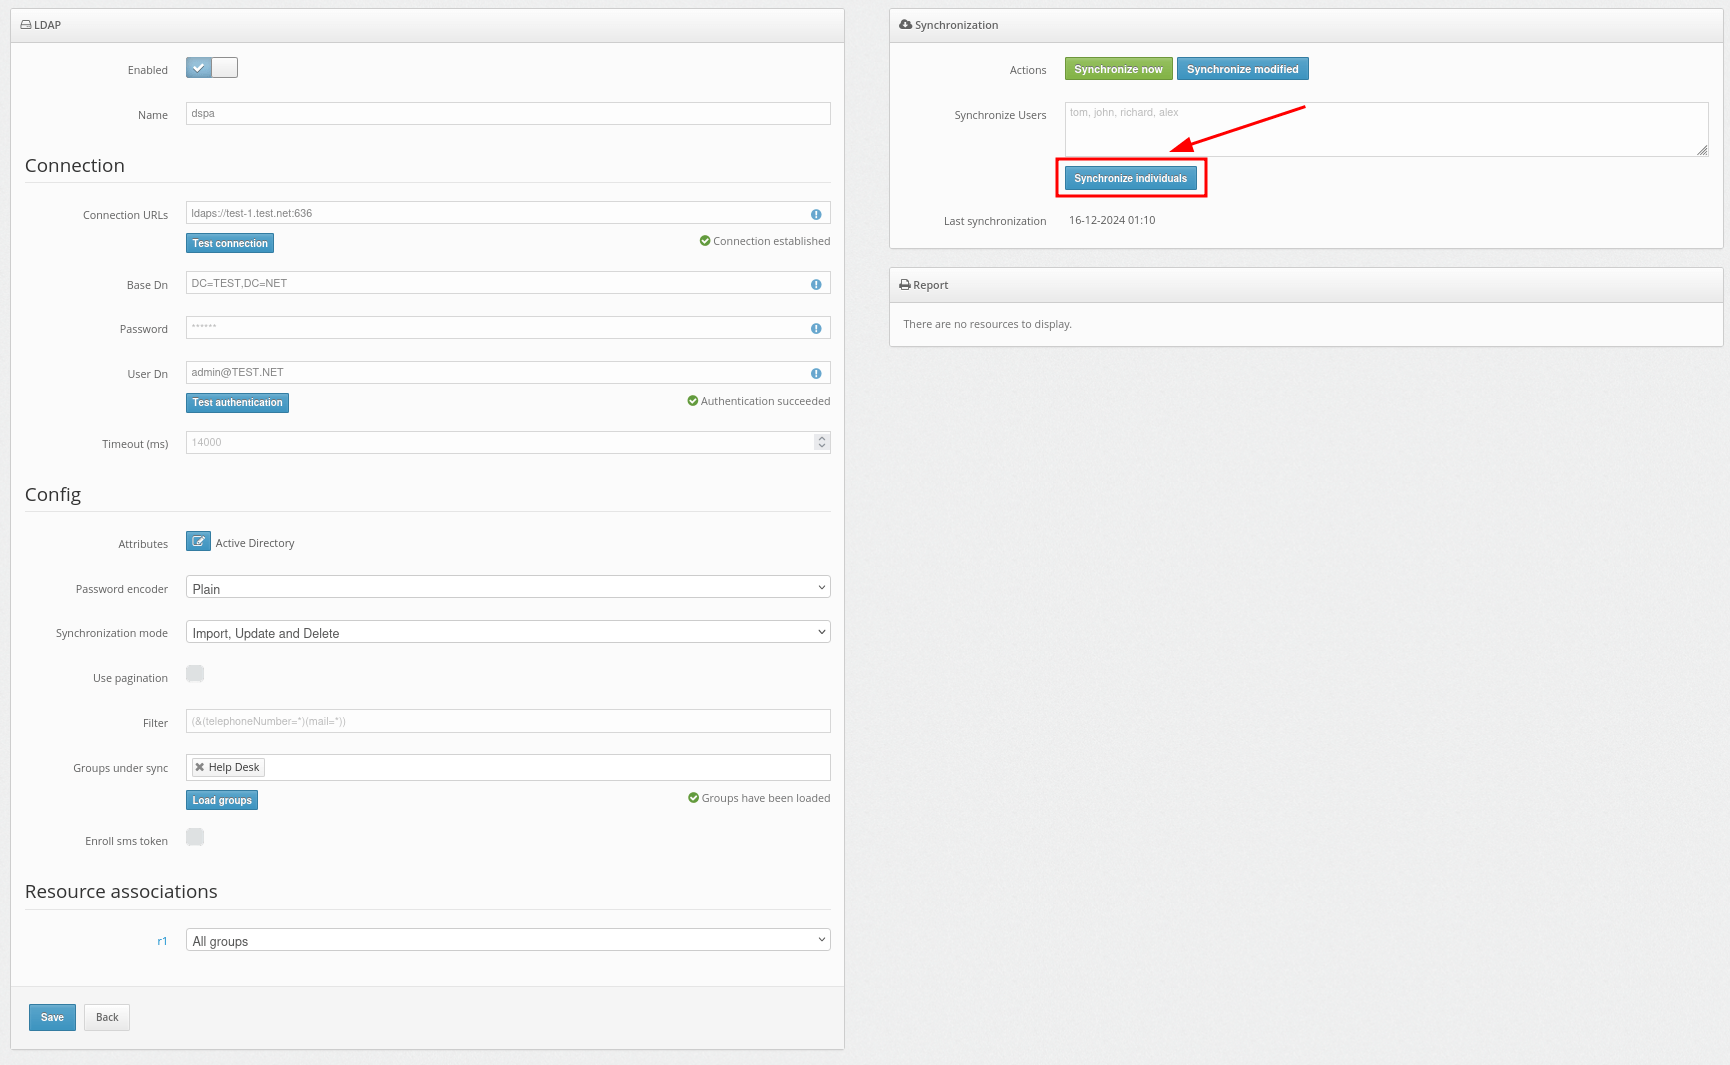
Importing users can be set up in three ways:
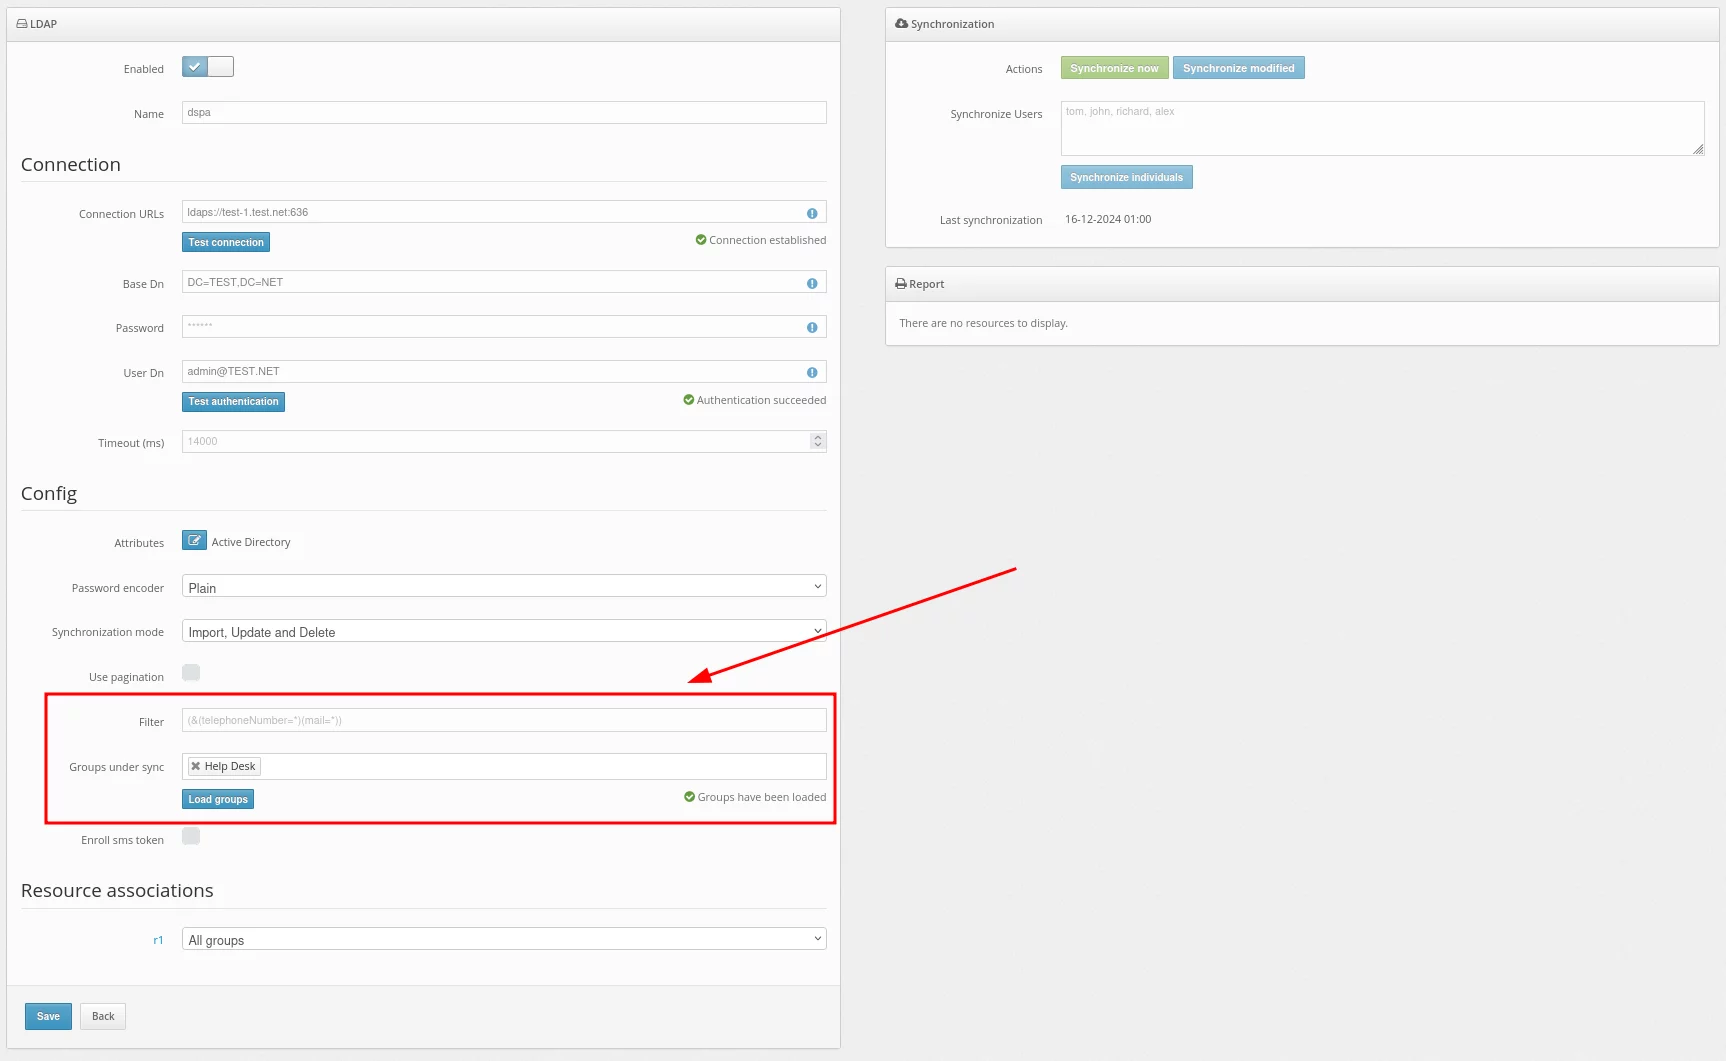
Set up a filter to be applied during synchronization.Use this filter to select only the users you want to synchronize.
For example, to import only those users who have the telephoneNumber and mail attributes specified, set up such a filter:
(&(telephoneNumber=*)(mail=*))To import users from a specific group, choose the required group. In our example, it is the Users group.
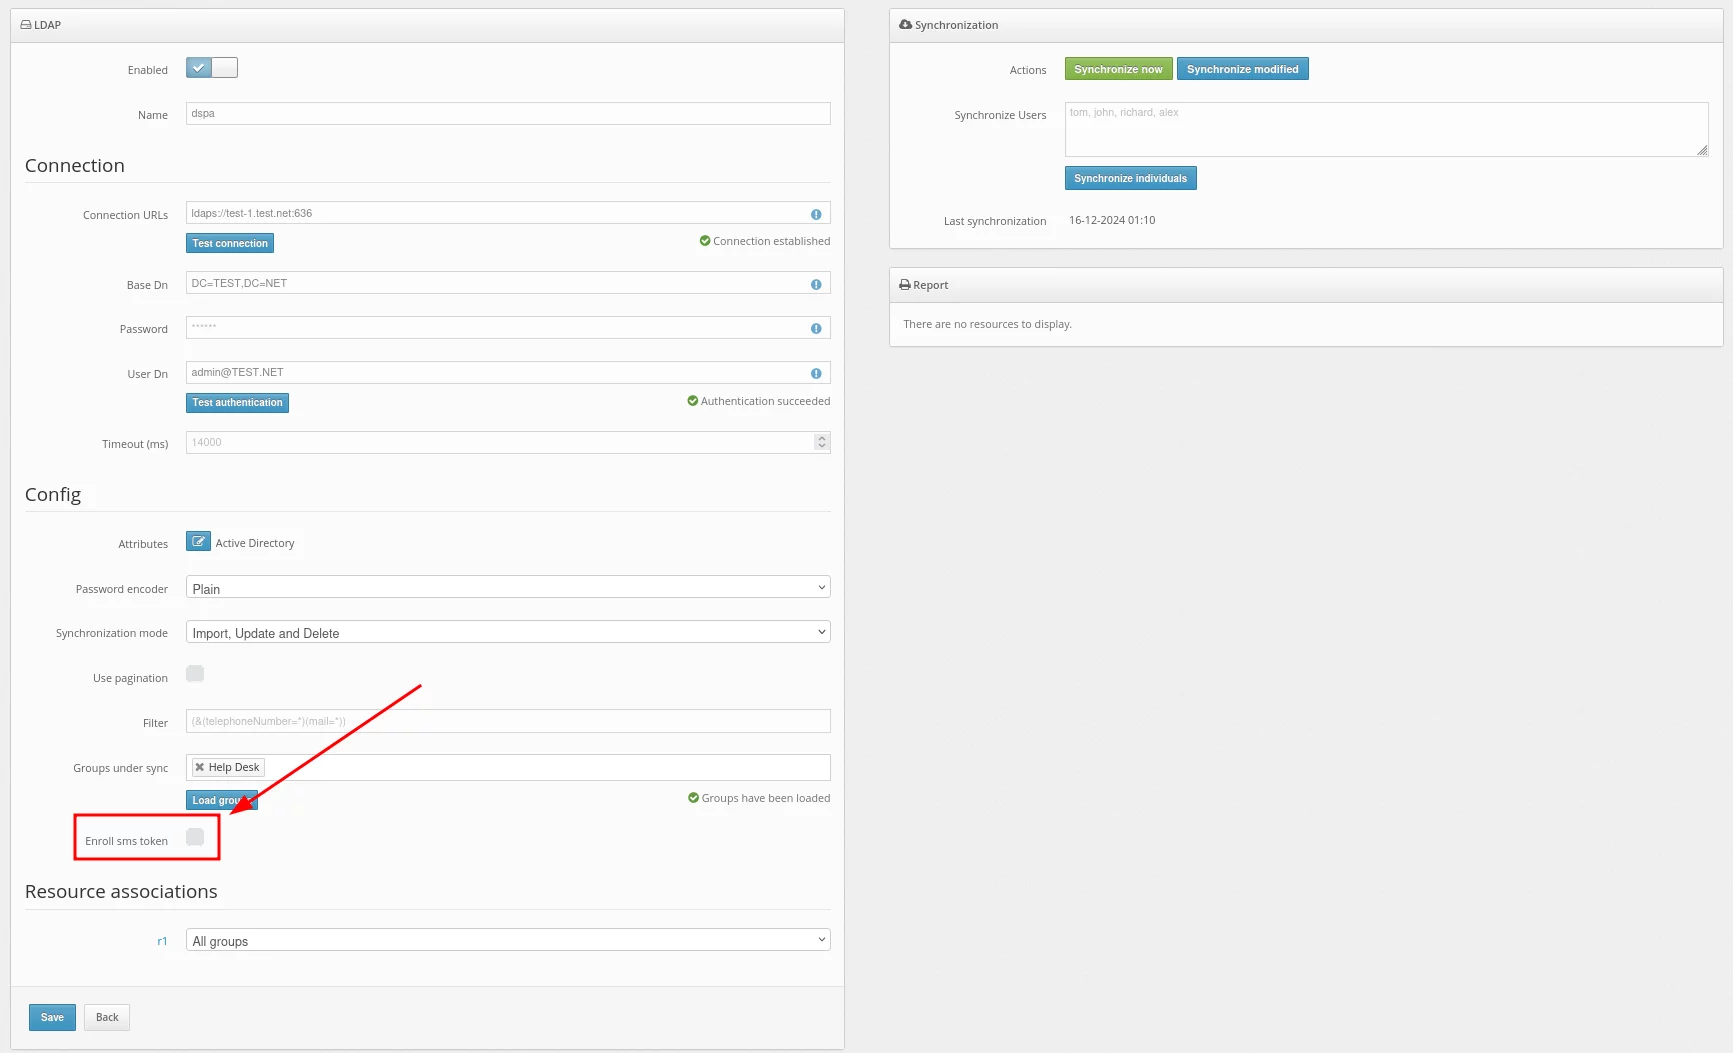
Use the Synchronize now button to synchronize all users at once.
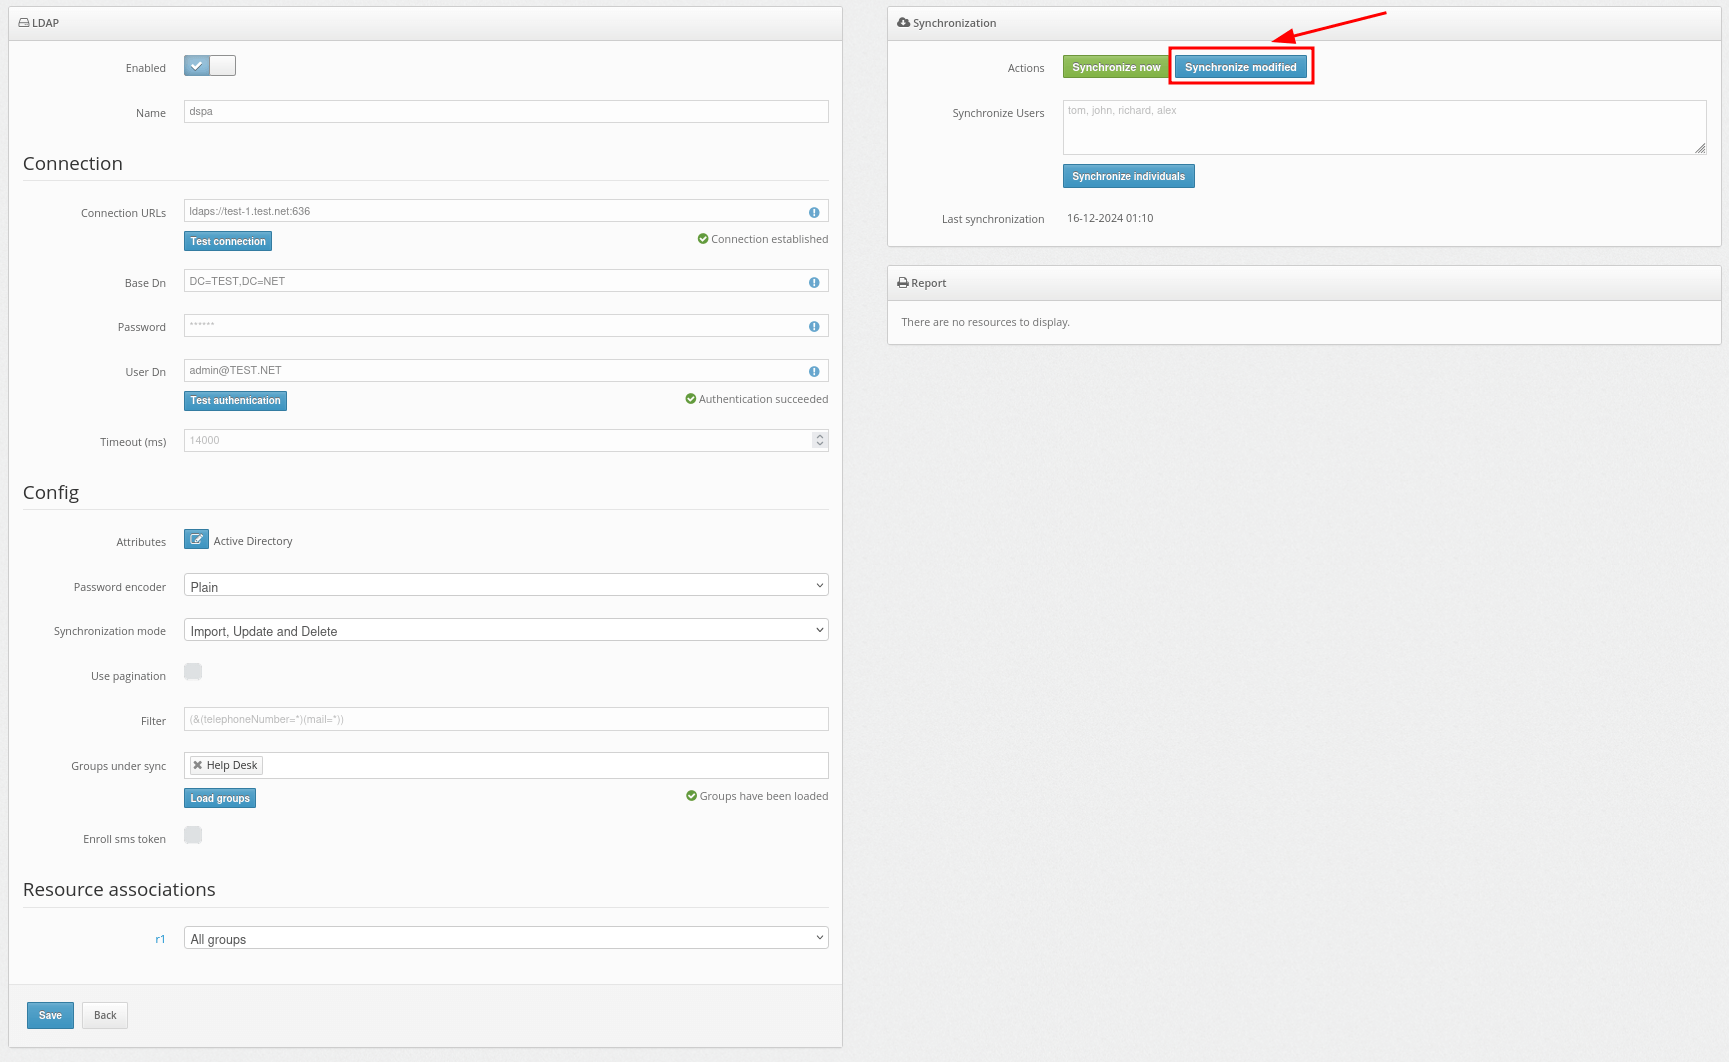
You can also select the Synchronize modified button to synchronize only the users who have been modified since the last synchronization.
Basic settings, required for the operation of Protectimus Two-Factor Authentication Platform, include:
PLEASE NOTE: If you plan to use Protectimus BOT, Protectimus MAIL, or Protectimus SMS tokens to deliver one-time passwords to your users, follow these instructions to set up the OTP delivery methods:
- Setting Up Protectimus BOT Tokens
- Setting Up Protectimus MAIL Tokens
- Setting Up Protectimus SMS Tokens
Additionally, you can enable the Users’ Self-Service Portal, allowing users to enroll, register, and manage their tokens independently.
Also, some additional features are available:
Integrate the Protectimus On-Premise MFA Platform with the system you want to secure with two-factor authentication. To do this, find the relevant integration guide on the Integrations page.
If you can’t find the required guide of have any questions, contact our support team — we’ll be happy to assist you with the integration.