To ensure secure communication, the Protectimus On-Premise Platform requires a properly configured SSL certificate. This section provides detailed instructions on issuing, importing, and configuring trusted SSL certificates.
1. How to issue a trusted SSL certificate for the On-Premise Platform using AD CS with Web Enrollment
Please Note:- The certificate of Certification Authority (CA) has to be installed on the clients machines in your domain to integrate the On-Premise Platform with such solutions as OWA.
- The Common Name (CN) for which the certificate was issued has to be accessible in your domain to integrate the On-Premise Platform with such solutions as OWA.
Prerequisites:- AD CS installed with Web Enrollment feature.
- You need to have access to the Web Server template in certsrv.
- Keytool and OpenSSL tools are required.
1.1. Generate a Certificate Signing Request (CSR) Using OpenSSL
- Generate a private key:
openssl genrsa -out test-server.key 2048
- Create a CSR:
openssl req -new -key test-server.key -out test-server.csr
1.2. Submit the CSR to AD CS to issue and download a certificate
- Open the AD CS web interface:
http://CA-Server-Name/certsrv
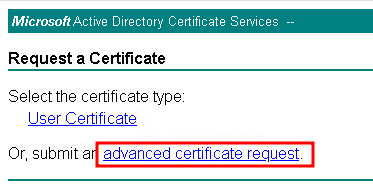
- Select Request a Certificate:

- Select Advanced Certificate Request:
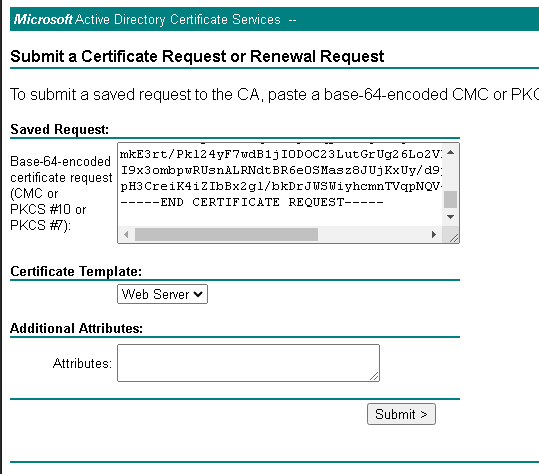
- Open your .csr file in a text editor, copy its contents, and paste it into the request box.
- Choose the Web Server template and submit the request:
- The Certificate Issued page should be opened, Select Base64 encoded checkbox.
- Click on the Download certificate.
- (Optional) Click on the Download certificate chain in case you need your CA to be trusted in your domain. Import the ca-chain.pem into the Trusted Root Certification Authorities store on the clients machines.
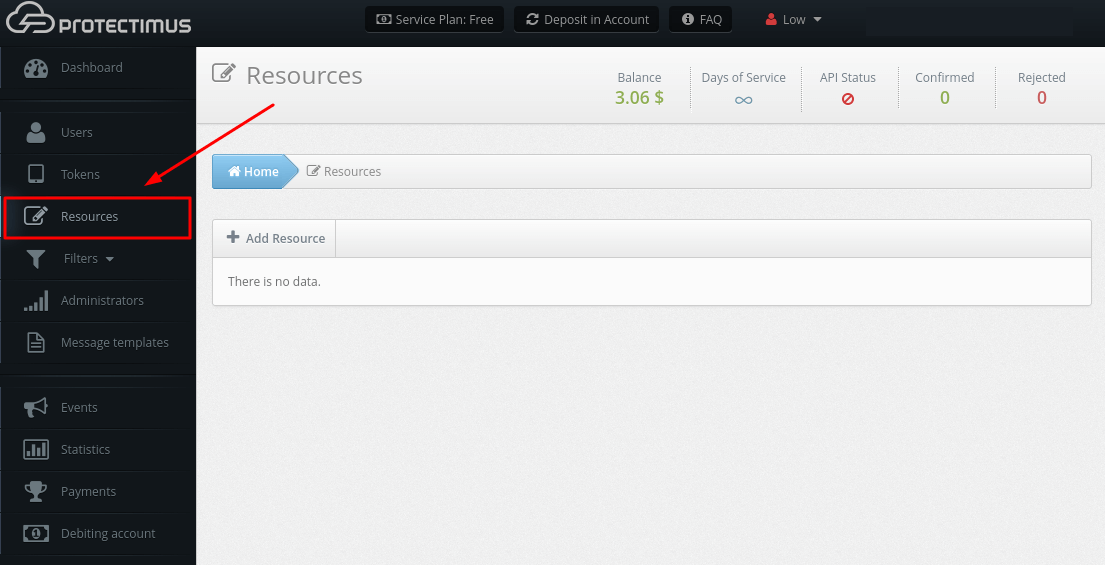
1.3. Import a SSL certificate to the Protectimus Platform
To import the issued certificate, follow the instructions in the
“2. How to Import Trusted SSL Certificate” section.
2. How to Import Trusted SSL Certificate
By default, a self-signed SSL certificate is used for the SSL connections with the Protectimus On-Premise Platform. If you would like to import your own trusted SSL certificate, follow the instructions below.
To import the SSL certificate, you will need the SSL certificate itself, the
keytool, and
openssl utilities.
Different SSL certificate formats are supported, including .pkcs12, .pem, .der, .pfx.
Replace names and parameters taking into account your configuration:
- Combine the certificate (test-server.cer) and the private key (test-server.key) into a PKCS12 file which is Java-compatible keystore (.jks) format:
openssl pkcs12 -export -in test-server.cer -inkey test-server.key -out test-server.pfx
- Create a Java Keystore and import the .pfx file into it:
keytool -importkeystore -srckeystore test-server.pfx -srcstoretype PKCS12 -destkeystore “C:\Program Files\Protectimus\Platform\keystore.jks” -deststoretype JKS
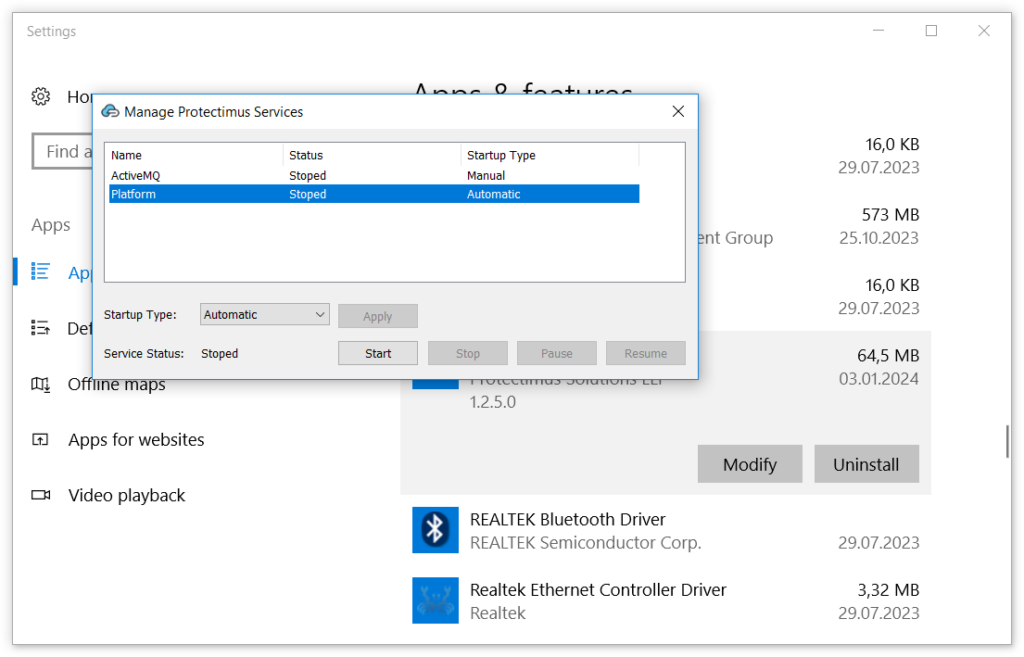
Then you need to update the protectimus.platform.properties file to apply changes.
You can find instructions in the
3.1. SSL Certificate Configuration section. Don’t forget to save the file and restart the Platform.
3. How to Configure SSL Certificate, Mail and SMS Tokens, and Specify the Path to the License File
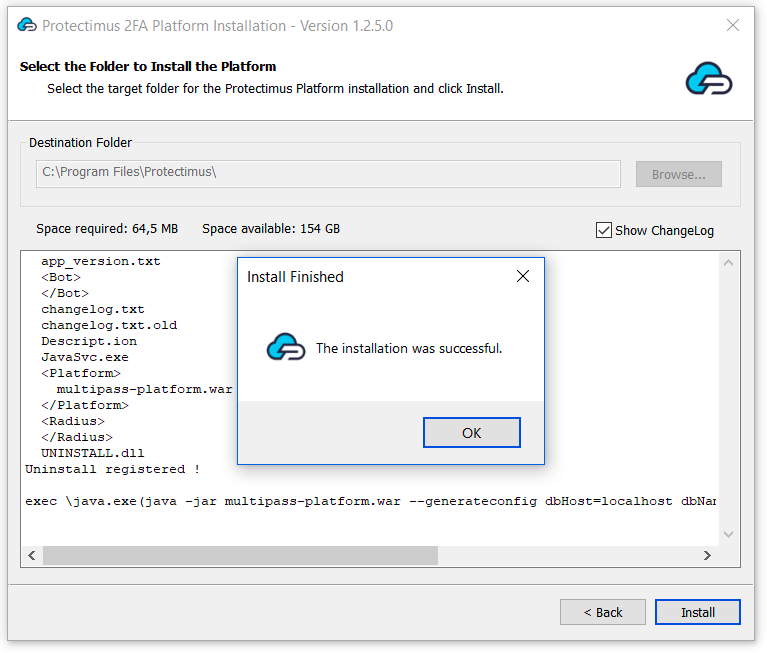
Once you’ve successfully installed the platform, it will generate a configuration file named
protectimus.platform.properties. The
protectimus.platform.properties file must be located in the same directory as the executable.
This file allows you to customize the following settings:
- Add SSL certificate for the Protectimus Platform. Different SSL certificate formats are supported, including .pkcs12, .pem, .der, .pfx.
- Configure delivery of messages via email;
- Configure SMPP server connection to add your SMS provider to deliver one-time passwords via SMS.
- Specify the path to the license file. Please note that the path to the license file should be indicated with double backslashes
(eg. C:\\some\\path\\file).
Available properties that you can add to the
protectimus.platform.properties file include:
3.1. SSL Certificate Configuration
| PROPERTY NAME | PROTERTY STANDS FOR |
https.port
| Port on which your application listens for HTTPS requests. Typically, platform uses port 8443 by default. |
https.keystore.type
| Type of keystore used to store SSL certificates and private keys. Types: JKS, PKCS12. |
https.keystore.password
| Password required to access the keystore. |
https.keystore
| Full path to the keystore file containing SSL certificates and private keys.
Please note that the keystore file should be located in the ..\\Protectimus\\Platform folder, in the same place as the .war and .properties files. The path should be indicated with double backslashes, for example C:\\Program Files\\Protectimus\\Platform\\keystore.jks. |
Example:
https.port = 8443
https.keystore.type = JKS
https.keystore.password = **********
https.keystore = C:\\Program Files\\Protectimus\\Platform\\keystore.jks
3.2. Email Message Delivery Configuration
| PROPERTY NAME | PROTERTY STANDS FOR |
smtp.host
| SMTP server’s hostname or IP address. |
smtp.port
| Port number for SMTP server. |
smtp.user
| Username or email account for authentication. |
smtp.password
| Password associated with the username or email account. |
default.from.address
| Allows you to set the address from which emails will be sent to the user. |
Example:
smtp.host = smtp-server.com
smtp.port = 25
smtp.user = [email protected]
smtp.password = **********
3.3. SMPP Server Connection Configuration
PLEASE NOTE! Additionally, you can configure settings for SMSC and ALIBABA as well.
| PROPERTY NAME | PROTERTY STANDS FOR |
smpp.server.login
| SMPP server login. |
smpp.server.password
| SMPP server password. |
smpp.server.host
| Host or IP address of the SMPP server. |
smpp.server.port
| Port for the SMPP server. |
smpp.message.encoding
| Encoding for SMPP messages. |
smpp.from.address
| Source or sender address for SMPP messages. |
Example:
smpp.server.login = login
smpp.server.password = **********
smpp.server.host = smpp.example.com
smpp.server.port = 12000
smpp.message.encoding = UTF-8
smpp.from.address = Protectimus
If you have other questions, contact
Protectimus customer support service.